Window and door perimeter sealing is one of the highest-risk joints in any building envelope. Failure here allows water infiltration behind cladding, air leakage that undermines thermal performance, and structural damage that is expensive to remediate once finishes are in place.
The most common cause of failure is not poor workmanship — it is incorrect material specification. Paintable acrylic applied to an exterior window perimeter. Acetoxy silicone used against anodised aluminium frames. MS polymer specified without accounting for movement at large-format glazing joints. Each of these fails predictably.
This guide is for contractors, facade engineers, and procurement managers specifying window and door perimeter sealants for commercial and residential projects. It covers:
- When to specify silicone vs MS polymer for window and door applications
- Movement capability requirements by joint type and frame material
- Applicable standards: EN 15651 (Europe), ASTM C920 (North America), and what classification levels mean
- Climate-specific guidance for projects in extreme heat, high humidity, and freeze-thaw conditions
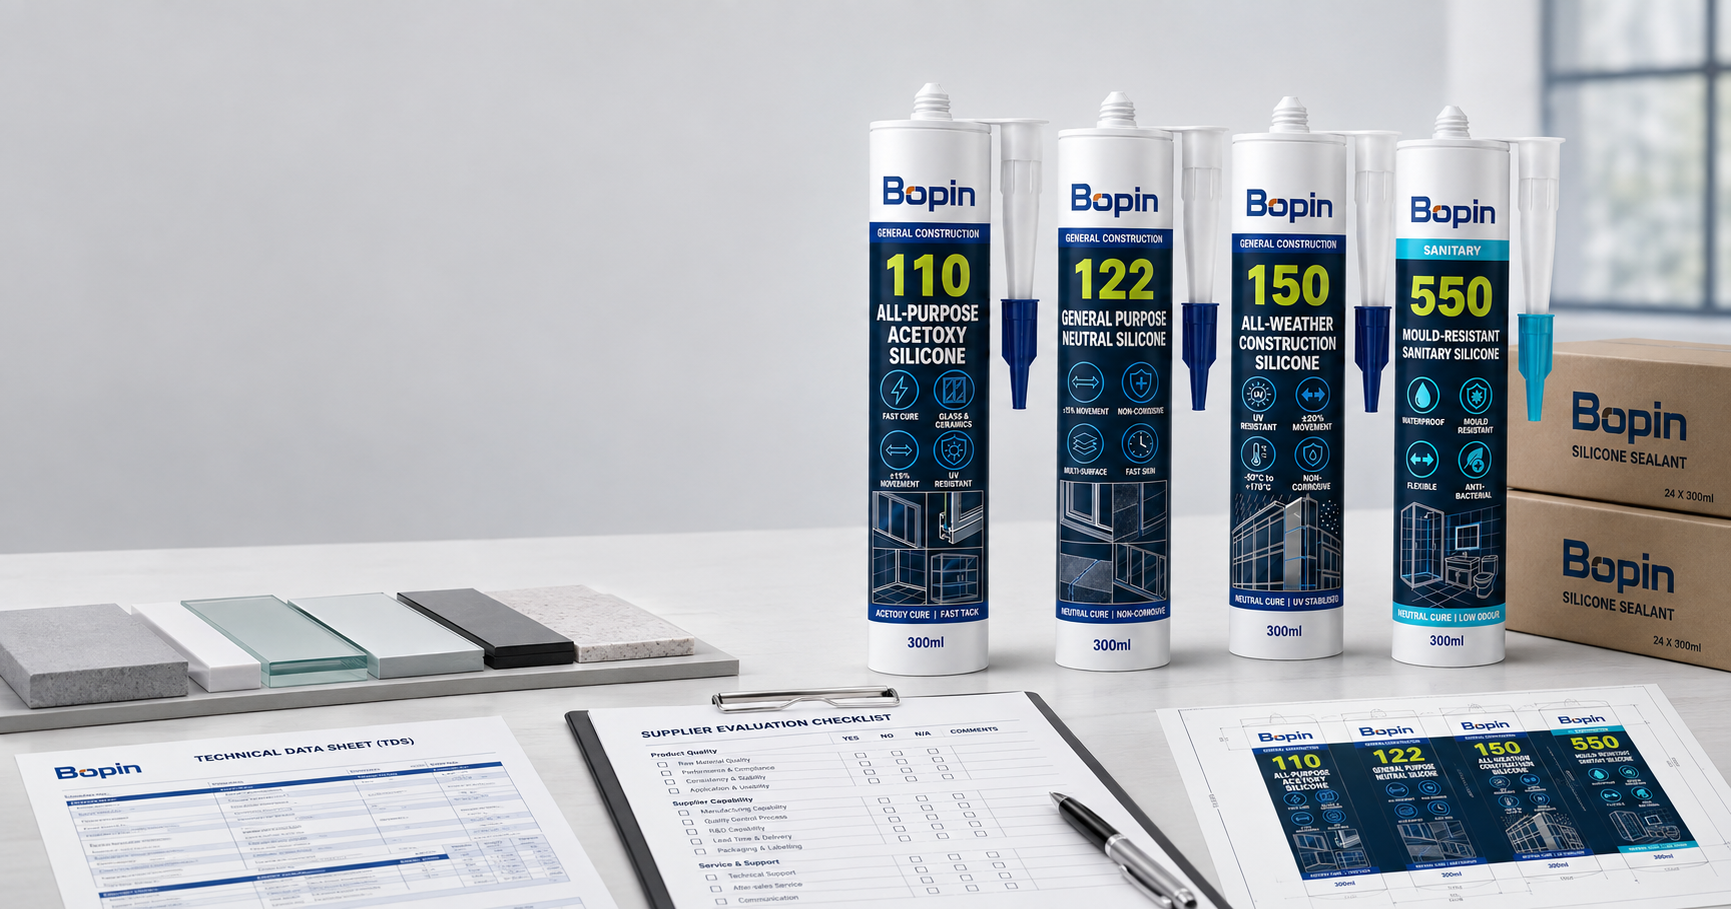
- BoPin 220 and MS-240 specification data
Jump to the product section for TDS data, or contact us with your frame material and project location for a direct recommendation.
O selo mais importante da sua casa
Aquele pequeno vão ao redor da sua janela é mais do que apenas uma monstruosidade. É uma rodovia para correntes de ar e uma porta de entrada para danos causados pela água. Todo inverno, o ar condicionado escapa por essas aberturas enquanto o ar frio entra. Isso custa centenas de dólares em contas de energia e cria o potencial de causar danos caros causados pela água.
A maioria dos proprietários não percebe quanto dinheiro literalmente sai por esses vãos. Uma janela mal vedada pode perder tanto ar condicionado quanto uma janela aberta. No verão, o ar-condicionado trabalha mais que o normal. No inverno, o sistema de aquecimento não dá conta.
Uma vedação de calafetagem perfeita é a primeira linha de defesa da sua casa contra perda de energia e danos climáticos.
Este guia explicará tudo o que você precisa saber. Mostraremos exatamente qual selante comprar para o seu tipo e aplicação de janela. Mais importante ainda, forneceremos um guia passo a passo para obter uma vedação profissional e resistente às intempéries que durará décadas e reduzirá suas contas de energia ano após ano.
A Escolha Crítica: Selantes de Silicone 100% vs. Selantes Pintáveis
Essa decisão determina tanto o desempenho quanto a aparência do seu projeto de vedação de janelas. Entender quando usar cada tipo evita erros dispendiosos e garante resultados ótimos.
| Recurso | Selante de silicone 100% | Selante pintável de alto desempenho |
| Melhor para… | Uso externo onde não é necessária pintura. Vedação de caixilhos de janelas em materiais não porosos, como vinil ou tijolo. | Acabamento interno e externo que precisa ser pintado para uma aparência perfeita |
| Resistência a UV e intempéries | Imbatível (Melhor) | Excelente |
| Flexibilidade | Excelente (Melhor) | Muito bom |
| Pintável? | Não | Sim (vantagem primária) |
| Durabilidade | 20+ anos | 15-20 anos |
| Resistência química | Superior | Muito bom |
| Temperatura de aplicação | +5°C a +40°C | -5°C a +40°C |
A Regra de Seleção Simples
Se você precisar pintar por cima para dar mais aparência, escolha um selante pintável de alto desempenho. Se você não precisar pintá-lo e ele for exposto a condições climáticas adversas, escolha o silicone 100%.
É aqui que cada um faz sentido:
Escolha o silicone 100% quando:
- Selagem de caixilhos de janelas externas ao revestimento
- Trabalhando com vinil, alumínio ou materiais compostos
- A máxima resistência às intempéries é a prioridade
- Você não se importa com a aparência natural do selante
- O desempenho a longo prazo supera o custo inicial
Escolha selante pintável quando:
- Selagem de guarnições internas de janelas
- Trabalhando com guarnições de madeira que precisam de pintura
- Aparência e integração da pintura são prioridades
- Você precisa de capacidade de aplicação em todas as condições climáticas
- Considerações de custo são importantes
Guia do comprador: o que torna o selante de janelas o “melhor”?
Resultados profissionais exigem produtos de nível profissional. Entender esses marcadores de qualidade ajuda a identificar selantes que oferecem proteção duradoura em comparação àqueles que falham prematuramente.
Lista de verificação para selante de janela superior
Atende à norma ASTM C920: Esta é a referência profissional em durabilidade e flexibilidade em aplicações externas exigentes. Os produtos que atendem a esse padrão passam por testes rigorosos para adesão, resistência às intempéries e capacidade de movimento.
Excelente flexibilidade/movimento articular: Deve lidar com a expansão e contração dos materiais de construção devido às mudanças sazonais de temperatura. As janelas podem se mover significativamente – selantes de qualidade inferior racham sob esse estresse.
Resistência superior a raios UV e intempéries: Não deve rachar, encolher ou esfarelar sob exposição constante ao sol e às mudanças climáticas. A degradação UV é a principal causa de falha prematura do selante em aplicações externas.
Forte adesão a vários materiais: Deve aderir permanentemente aos materiais específicos da sua janela e revestimento, incluindo vinil, madeira, alumínio, tijolo, estuque e materiais compostos. A má adesão leva à falha da vedação e infiltração de água.
Flexibilidade em baixas temperaturas: Deve permanecer flexível em climas frios, quando o movimento do edifício é mais severo. Selantes quebradiços racham durante oscilações de temperatura no inverno.
Resistência química: Deve suportar produtos de limpeza e poluentes ambientais sem se degradar. Isso garante um desempenho de longo prazo apesar da exposição a condições adversas.
| Padrão | Region | Classification | Aplicação |
|---|---|---|---|
| EN 15651-1 | Europe / Middle East | F-EXT-INT / CC | Facade & exterior glazing joints |
| EN 15651-2 | Europe | G | Glazing applications |
| ASTM C920 | North America | Class 25 / 50 | Exterior window perimeter sealing |
| ISO 11600 | International | F-20LM / G-20LM | General window & facade sealing |
| GB/T 14683 | China | G-20LM | Domestic construction standard |
Note: For projects in Gulf Cooperation Council (GCC) countries, EN 15651 is the commonly referenced standard. For projects in Central Asia, both EN and GOST standards may apply — confirm with the project specification.
Matching Sealant to Joint Movement
Window and door perimeter joints experience movement from three sources: thermal expansion of the frame, building structural movement, and wind load deflection.
Small residential windows (frame width <1.5m):
Typical movement ±10–15%. Standard silicone (±25% capability) provides adequate margin.
Large commercial glazing (frame width >2m, curtain wall):
Movement can reach ±20–25% under wind load. Specify sealant with minimum ±25% movement capability and verify joint width is designed to accommodate full movement range.
Aluminium and steel frames:
High thermal expansion coefficients create significant seasonal movement. Neutral-cure silicone is mandatory — acetoxy-cure products corrode metal substrates and will cause adhesion failure and frame staining.
Timber frames:
MS polymer preferred over silicone — paintability allows colour-matching to frame finish, and MS polymer’s adhesion to timber without primer simplifies installation.
Product Selection for Window & Door Sealing
Exterior window perimeter, aluminium and glass facade, curtain wall:
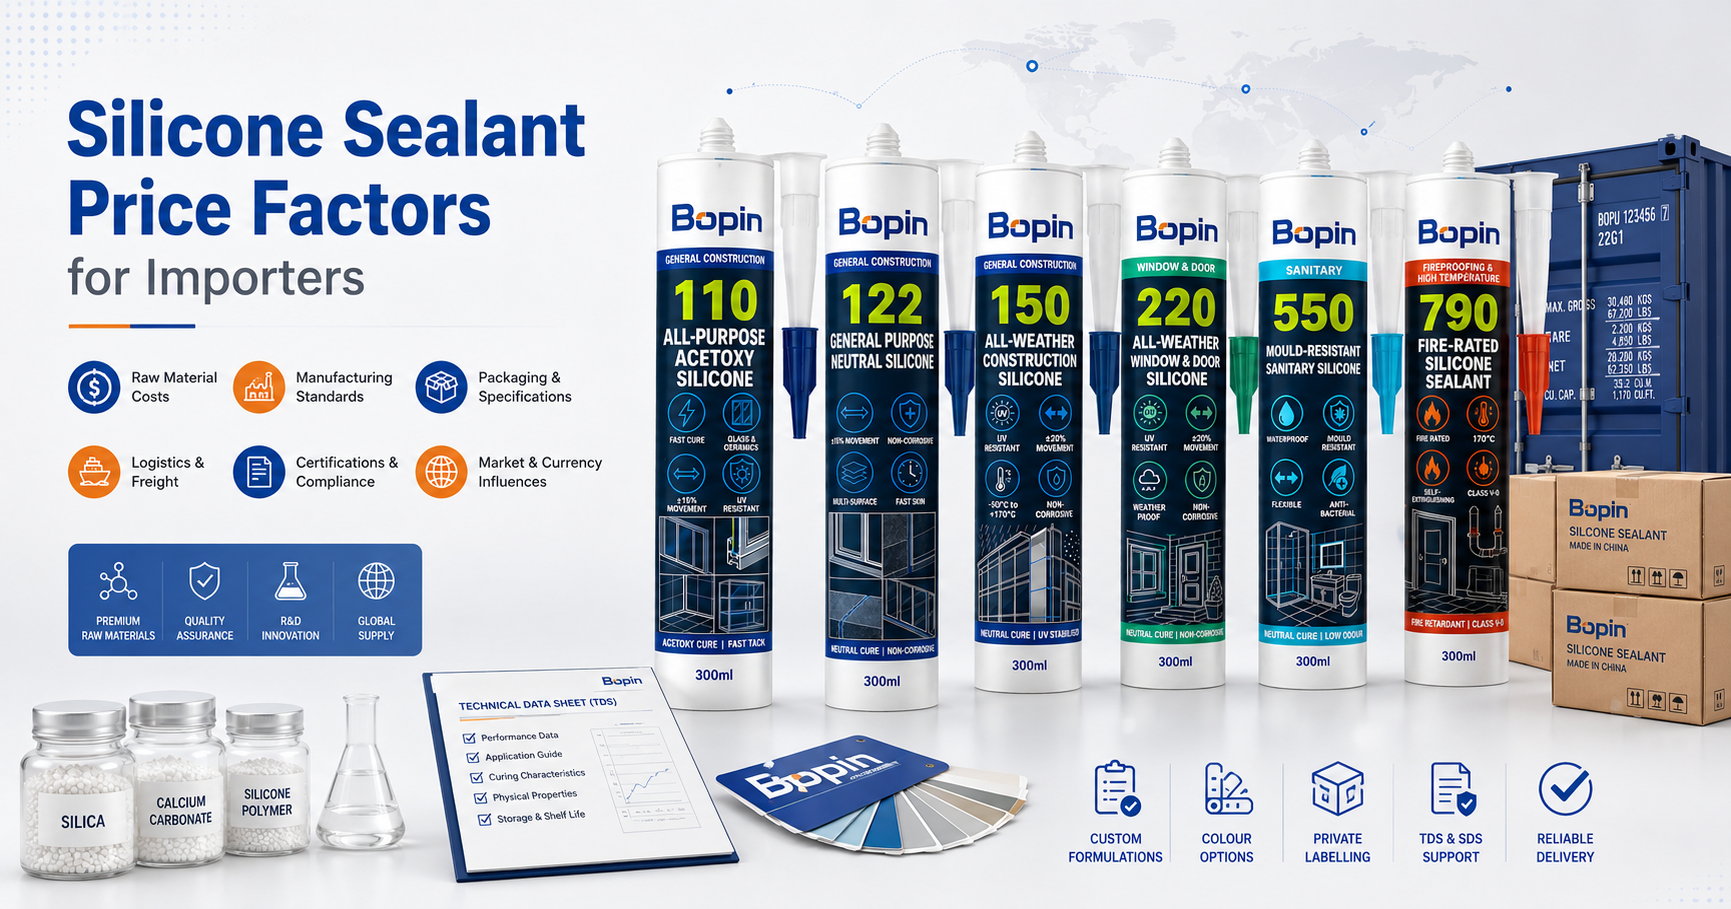
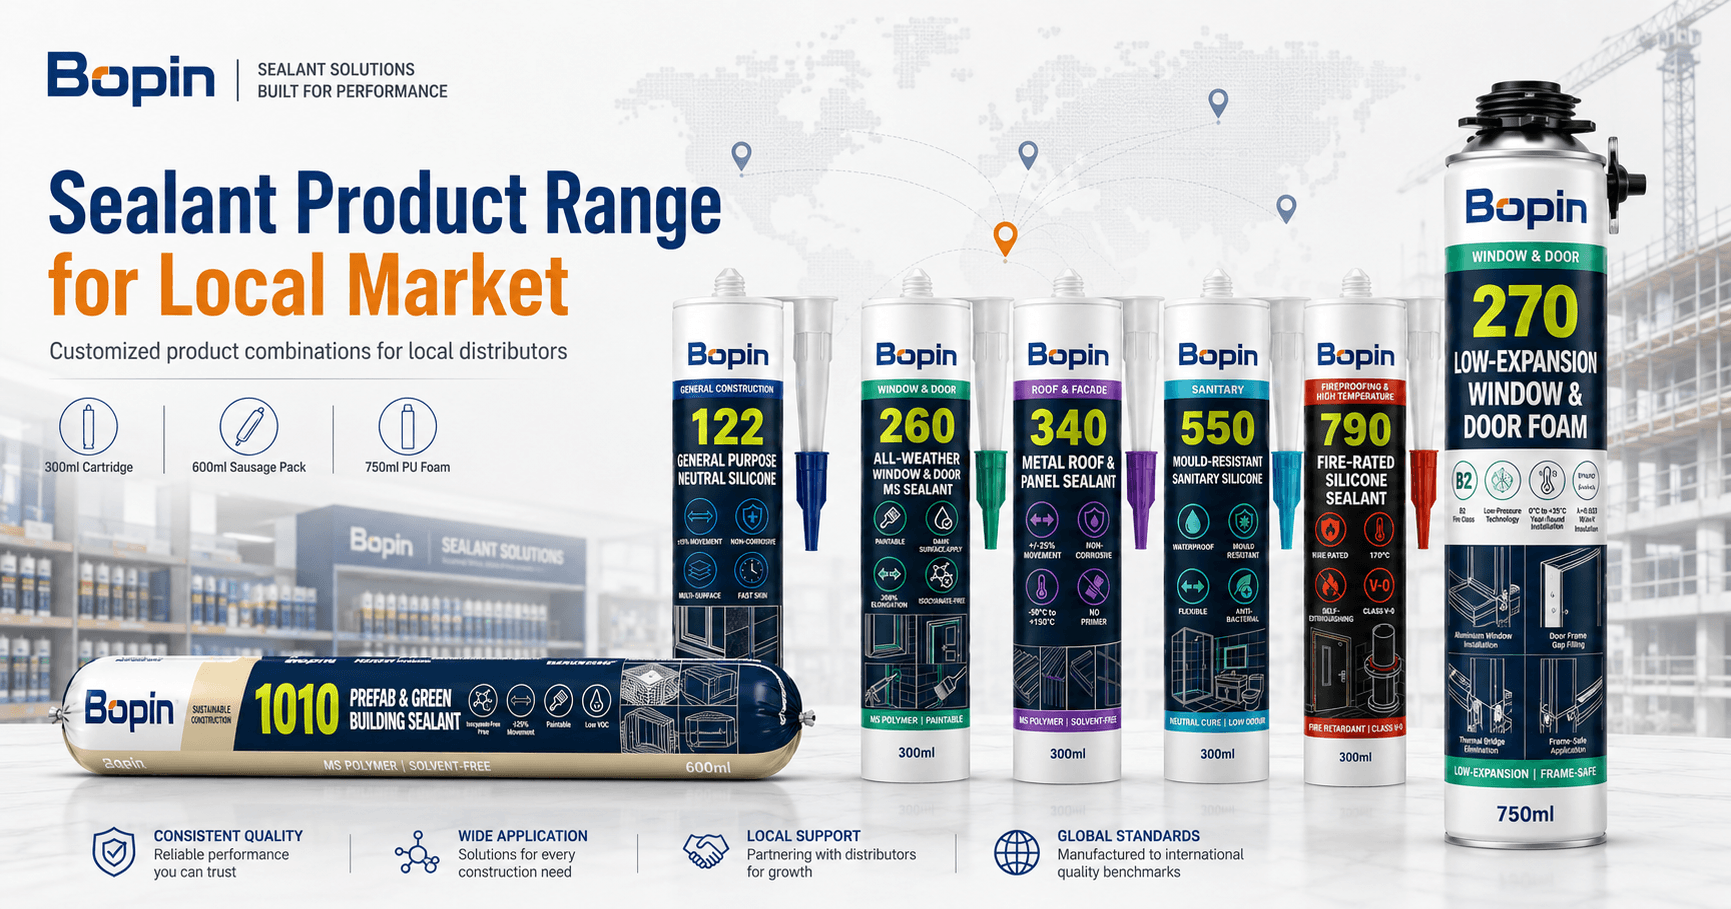
BoPin 220 Window & Door Silicone
- Neutral-cure formula — no corrosion risk on aluminium, anodised metal, or coated glass.
- 20+ year service life in exterior applications.
- Movement capability ±25%. Temperature range -40°C to +150°C.
- Not paintable.
Window and door perimeter requiring painted finish, timber frames, mixed substrate applications:
Selante para portas e janelas BoPin MS-240 para todas as condições climáticas
- MS polymer technology — fully paintable with latex and oil-based paints.
- Application range -5°C to +40°C, enabling year-round installation in cold climates. ±25% movement capability.
- Bonds to most substrates without primer.
- 15–20 year service life.
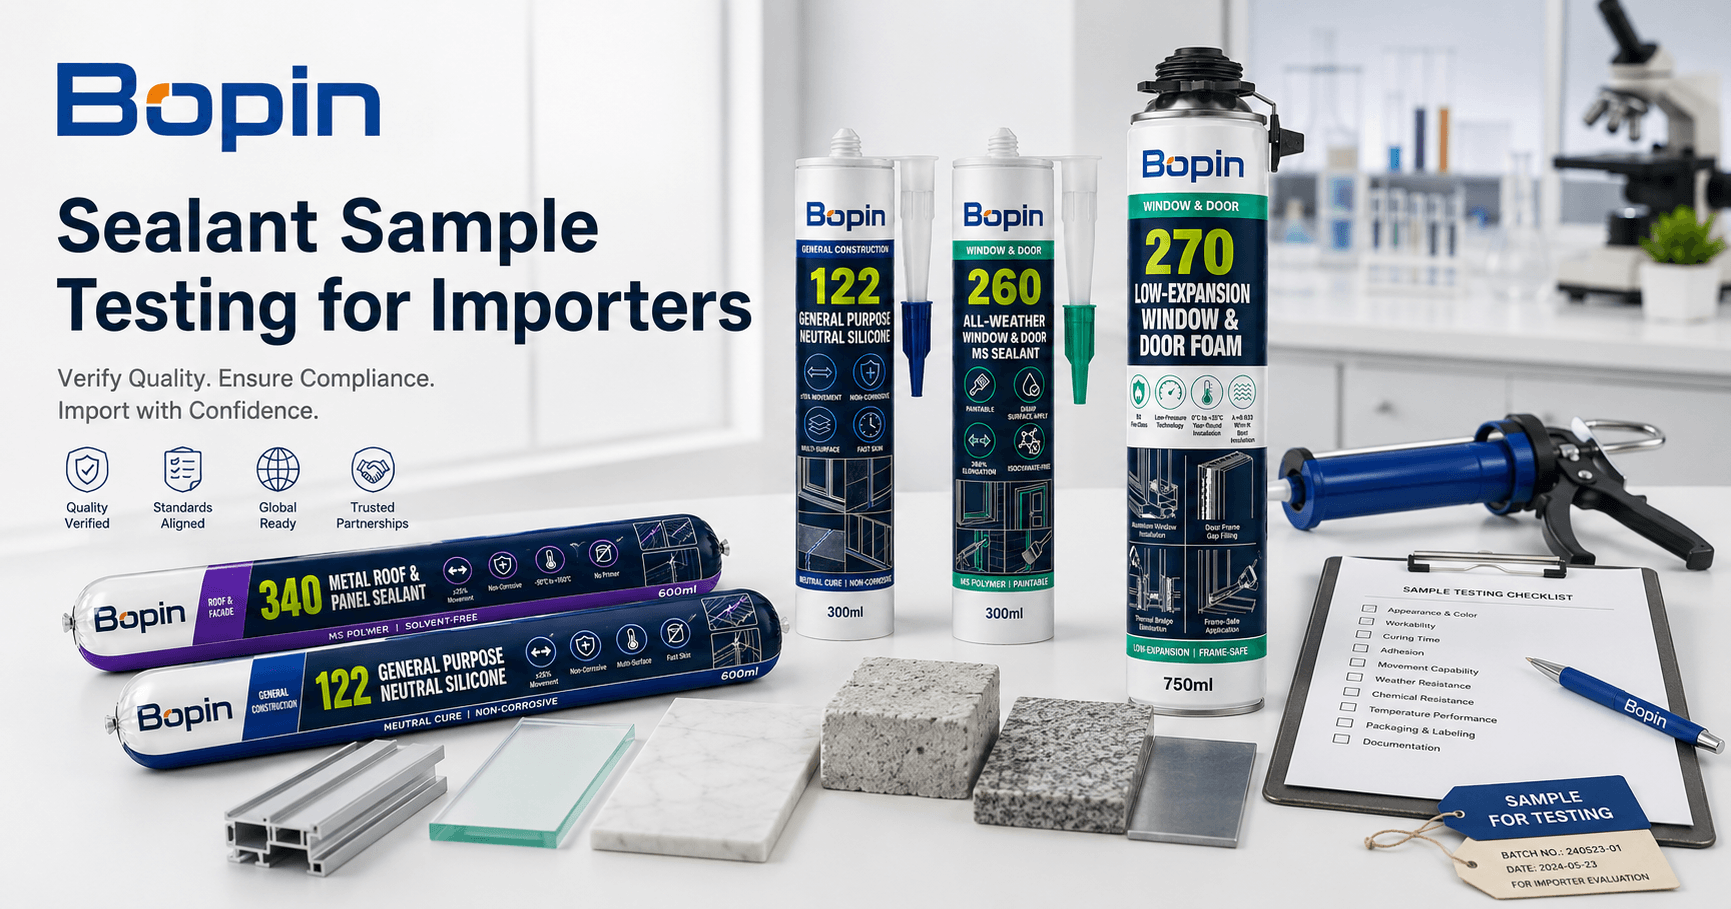
Both products are available with full technical documentation: TDS, SDS, application guides, and test certificates.
Samples available for substrate compatibility testing.
[Request Technical Documentation →]
Como obter um selo profissional: um guia passo a passo
Resultados profissionais não dependem de ferramentas caras, mas sim de técnica adequada. Siga estas etapas exatamente para obter vedações à prova de intempéries que protejam seu investimento.
Etapa 1: A preparação perfeita (etapa mais crítica!)
Esta etapa determina se o seu selo dura 2 ou 20 anos. A má preparação é a causa #1 de falha prematura da vedação.
Remoção completa da calafetagem antiga:
- Score both edges of existing caulk with a sharp utility knife
- Pull out all old material – leaving any residue guarantees adhesion failure
- Use caulk removal tools for stubborn sections
- Don’t take shortcuts here – incomplete removal causes new sealant to fail
Thorough surface cleaning:
- Clean all surfaces with isopropyl alcohol to remove oils, soap residue, and contaminants
- Use lint-free rags that won’t leave residue
- Allow surfaces to dry completely before proceeding
- Perfect cleanliness is non-negotiable for reliable adhesion
Final inspection:
- Check that surfaces are clean, dry, and sound
- Verify proper joint width (6-12mm is optimal for most applications)
- Ensure good access for application and tooling
Step 2: Insert Backer Rod (Professional Technique for Large Gaps)
For gaps larger than 12mm, backer rod is essential for proper sealant performance and economy.
Why backer rod matters:
- Controls sealant depth for optimal performance
- Prevents three-sided adhesion that causes stress cracking
- Saves sealant material in deep joints
- Creates proper joint geometry for maximum flexibility
Installation technique:
- Choose closed-cell foam backer rod slightly larger than joint width
- Push into joint to leave 6-8mm depth for sealant
- Ensure rod sits evenly without gaps or high spots
- Don’t compress too much – this creates weak points
Step 3: Apply the Bead Like a Professional
Consistent application technique creates uniform, attractive seals that perform reliably.
Cut the cartridge tip correctly:
- Cut at 45-degree angle with sharp knife
- Size opening to match joint width – typically 6-8mm
- Make clean cut for smooth bead flow
- Ragged cuts create uneven beads that look unprofessional
Técnica de aplicação:
- Hold gun at 45-degree angle to joint
- Move at consistent speed for uniform thickness
- Apply steady, even pressure for smooth flow
- Trabalhe em seções gerenciáveis – don’t let sealant skin over before tooling
Pro tips:
- Push the bead rather than pulling for better adhesion
- Maintain consistent gun angle and speed
- Work in shade when possible to extend working time
Step 4: Smooth the Seam for Water Shedding Performance
Proper tooling creates both attractive appearance and functional water shedding.
Tooling technique:
- Work within 5-10 minutes of application before skinning begins
- Use appropriate tool – plastic smoother or clean, wet finger
- Create smooth, concave profile that directs water away
- Não use ferramentas demais – this creates thin spots that fail prematurely
Professional results:
- Remover a fita adesiva imediatamente após a colocação das ferramentas
- Clean excess sealant from adjacent surfaces
- Ensure smooth transitions at corners and ends
- Take time for quality – tooling separates professional from amateur results
Step 5: Clean Up & Cure Properly
Proper curing ensures maximum performance from your installation.
Immediate cleanup:
- Remove excess sealant with damp cloth
- Clean tools immediately – sealant becomes difficult to remove once cured
- Protect joint from disturbance during initial cure
- Don’t rush cleanup – thoroughness prevents problems later
Requisitos de cura:
- Allow 10-20 minutes for initial skin formation
- Avoid water exposure for 2-4 hours
- Wait 24-48 hours before heavy weather exposure para desempenho máximo
- Full cure develops over 7 days for optimal properties
Window Caulking FAQ
Should I caulk the inside or outside of my windows?
Both locations need sealing, but with different products for different purposes:
Exterior sealing: Use weather-resistant silicone (BoPin 220) for primary weather protection. This is your main defense against water infiltration and air leakage.
Interior sealing: Use paintable sealant (BoPin MS-240) for appearance and air sealing. This provides secondary protection and allows integration with interior finishes.
The exterior seal is more critical because it faces the harshest conditions and provides primary weather protection.
What parts of the window should I NOT caulk?
Never seal weep holes – these small openings at the bottom of window frames allow trapped water to escape. Sealing weep holes can cause serious water damage by trapping moisture in the wall system.
Don’t caulk between operable window sashes and frames – this prevents normal operation and ventilation.
Avoid sealing expansion joints that are designed to accommodate building movement.
How long does quality window caulk last?
Professional-grade sealants provide 15-20 years of reliable service when properly selected and applied:
BoPin 220 Silicone: 20+ years in exterior applications with proper installation BoPin MS-240 Paintable: 15-20 years with excellent appearance retention
Factors affecting service life:
- Quality of surface preparation and application
- Environmental conditions and UV exposure
- Building movement and thermal cycling
- Maintenance and cleaning practices
Signs replacement is needed:
- Visible cracks or gaps in the sealant
- Loss of adhesion at edges
- Hardening and loss of flexibility
- Water stains indicating infiltration
What’s the difference between caulk and sealant?
These terms are often used interchangeably, but technically:
Caulk: Generally refers to paintable, water-based products used for interior applications Sealant: Usually refers to higher-performance products (like silicone) for demanding exterior use
For window applications, focus on performance rather than terminology – choose products based on your specific requirements for weather resistance, paintability, and durability.
Can I apply window sealant in cold weather?
Application temperature limits vary by product:
Standard silicones: Typically require +5°C to +40°C BoPin MS-240: Can be applied from -5°C to +40°C for extended application seasons
Cold weather considerations:
- Store sealant at room temperature before use
- Allow longer cure times in cold conditions
- Avoid application when precipitation is expected
- Choose appropriate products for your climate conditions
Sourcing Window & Door Sealant for
Commercial Projects?
BoPin supplies window and door perimeter sealants for export to the Middle East, Southeast Asia, Central Asia, Africa, and Europe. Direct factory pricing, flexible MOQ, full certification documentation.
To receive a quote or samples, provide:
✓ Frame material (aluminium / timber / steel / uPVC)
✓ Application (interior / exterior / curtain wall)
✓ Project location and climate conditions
✓ Approximate quantity