The Most Important Maintenance You’ll Ever Do
A tiny crack in your RV’s sealant can lead to thousands of dollars in hidden water damage. Water infiltration doesn’t just create cosmetic problems – it destroys structural components, breeds dangerous mold, and can render your investment completely uninhabitable.
Unlike your house, your RV faces extreme challenges that stationary buildings never encounter. Constant road vibration stresses every joint. Temperature swings from desert heat to mountain cold create continuous expansion and contraction. Your home travels through rain, snow, hail, and intense UV radiation at highway speeds.
Most RV owners discover water damage too late. By the time you see water stains, smell mold, or notice soft spots in your floor, extensive damage has already occurred. Insurance rarely covers gradual water infiltration, leaving you with repair bills that can exceed your RV’s value.
Proactive sealing isn’t just maintenance – it’s the #1 thing you can do to protect your investment and ensure years of worry-free adventures.
This guide is your complete A-to-Z resource for RV sealing success. We’ll cut through the confusion, show you exactly which type of sealant to use on which part of your RV, and provide a step-by-step guide to applying it for a permanent, factory-quality seal that will protect your investment for years to come.
1. The #1 Secret the Pros Know: Self-Leveling vs. Non-Sag Sealants
Understanding this fundamental difference is the key to professional-quality RV sealing. Most RV water damage occurs because owners use the wrong type of sealant for their specific application.
Self-Leveling Sealant: The Roof Specialist
What It Is: A specially formulated sealant with lower viscosity that flows smoothly and automatically levels itself to create a perfectly flat, professional finish without any tooling or smoothing required.
How It Works: When applied to horizontal surfaces, gravity and surface tension combine to create a smooth, seamless seal that flows into every crack and crevice. The result looks like it was professionally installed at the factory.
Where to Use It: ONLY on horizontal (flat) surfaces where gravity can help the product work properly:
- Roof seams and joints between panels
- Around roof vents and exhaust fans
- Skylights and hatches on the roof
- Air conditioning units and other roof-mounted equipment
- Solar panel mounting points and cable penetrations
Non-Sag Sealant: The Vertical Expert
What It Is: A thicker, more viscous formulation designed to stay exactly where you put it, maintaining its shape and creating clean, professional lines on vertical and angled surfaces.
How It Works: Advanced rheology modifiers give the sealant “body” that resists gravity and maintains the applied profile. This allows precise application and perfect bead control on challenging surfaces.
Where to Use It: Para vertical and angled surfaces where standard sealants would run or sag:
- Windows and doors around frames and trim
- Side panels and trim pieces along the RV’s walls
- Clearance lights and markers on sides and rear
- Storage bay doors and hatches
- Slideout sealing around moving components
The Costly Mistake Most RV Owners Make
Using self-leveling sealant on vertical surfaces creates a mess that runs down your RV’s side, leaving streaks and gaps where protection is needed most. Using non-sag sealant on roofs creates an uneven, unprofessional appearance that traps water and debris.
Professional RV technicians always carry both types and use each for its intended purpose. This simple distinction separates amateur repairs from professional results.
2. Buyer’s Guide: What to Look For in the “Best” RV Sealant
Not all RV sealants provide the protection your investment deserves. Professional-grade products include specific features designed for the unique challenges RVs face.
Checklist for Superior RV Sealant Performance:
Extreme Flexibility: The Road Test
Your RV experiences constant movement and vibration that would destroy rigid sealants within months. Look for products with ±50% movement capability – this means the joint can expand and contract by half its width without breaking the seal.
Por que isso é importante: Highway speeds create constant micro-movements in every joint. Temperature changes from morning to afternoon can cause your RV’s aluminum skin to expand by several millimeters. Only truly flexible sealants survive these demanding conditions.
Superior UV Resistance: Desert Survival
RV sealants face direct sunlight for thousands of hours – far more exposure than most building applications. Standard sealants crack, fade, and fail within 2-3 years under this punishment.
O que procurar: Products specifically rated for 20+ years of UV exposure with no degradation in flexibility or adhesion. Quality UV stabilizers prevent the chemical breakdown that destroys cheaper alternatives.
100% Waterproof: Non-Negotiable Protection
“Water-resistant” isn’t enough for RV applications. Your sealants must provide complete waterproof protection under driving rain, pressure washing, and standing water conditions.
Professional standard: Look for sealants meeting ASTM C920 specifications for weatherproof sealing. This ensures tested performance under extreme water exposure conditions.
Multi-Material Adhesion: Universal Compatibility
Modern RVs combine multiple materials that expand and contract at different rates. Your sealant must bond tenaciously to all common RV substrates without primer or special preparation.
Essential compatibility:
- EPDM and TPO rubber roofing (most common RV roof materials)
- Fiberglass sidewalls and front/rear caps
- Aluminum framing and trim components
- Acrylic and painted surfaces throughout the RV
- Glass and plastic windows and fixtures
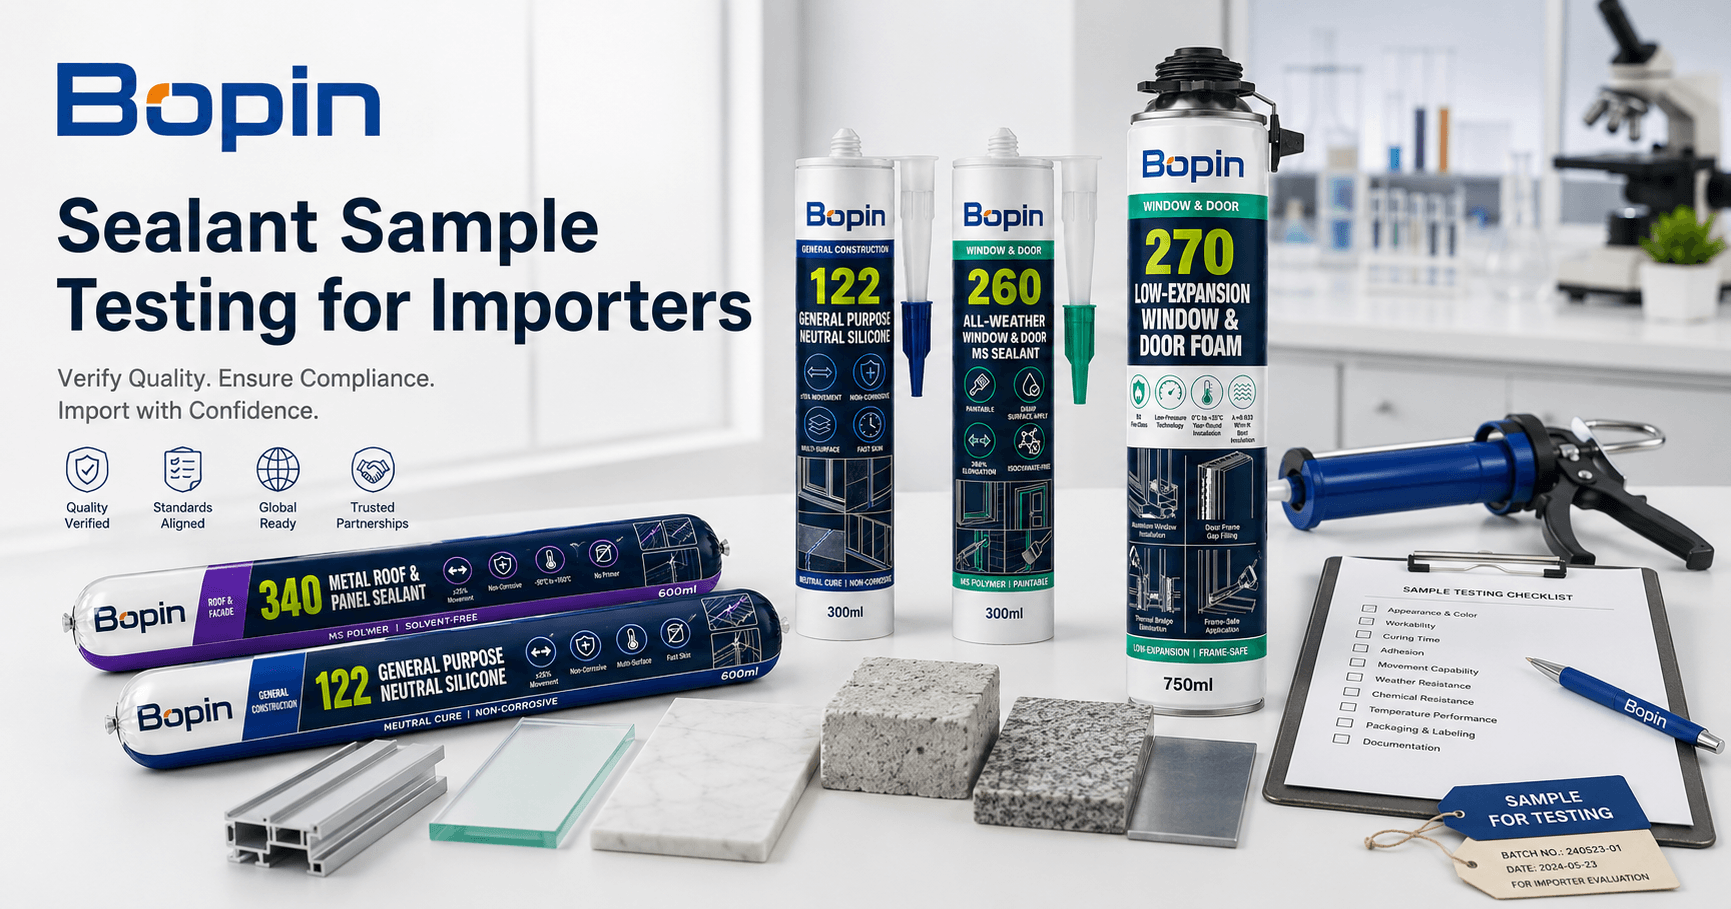
3. Our Top-Rated RV Sealant Recommendations
After extensive testing in extreme RV conditions, these professional-grade sealants provide the ultimate protection for your investment.
Best for Roofs & Horizontal Surfaces
Selante autonivelante para juntas de piso BoPin PU-440
Why It’s Perfect for RV Roofs: This advanced polyurethane formulation creates permanent, waterproof seals that automatically level to factory-perfect finishes on horizontal surfaces.
RV-Specific Advantages:
- Fórmula de autonivelamento flows perfectly around roof penetrations and equipment
- Resistência superior à abrasão withstands foot traffic during maintenance
- Resistência química excepcional handles cleaning products and environmental exposure
- Capacidade de movimento ±25% accommodates thermal expansion and structural flex
- Desempenho em ampla faixa de temperatura (-30°C to +80°C) for all-climate travel
Perfect Applications:
- Roof seams and panel joints
- Around air conditioning units and vents
- Skylight and hatch perimeter sealing
- Solar panel mounting penetrations
- Roof-to-wall transition areas
Disponível em cinza, preto e bege to match common RV roof colors.
View BoPin PU-440 Complete Specifications →
Best for Windows, Trim & Vertical Surfaces
BoPin 380 Selante para fachadas resistente às intempéries
Why It Excels for RV Exteriors: Premium neutral-cure silicone engineered specifically for demanding exterior applications with exceptional movement capability and weatherproofing.
Professional RV Features:
- Capacidade de movimento superior (±50%) handles extreme thermal cycling
- Estabilidade UV avançada Previne a degradação e a alteração de cor.
- Tecnologia que não mancha safe for all RV materials and finishes
- Vida útil prolongada (20+ years) reduces maintenance frequency
- Aplicação para todas as condições climáticas capability down to -20°C for emergency repairs
Ideal Applications:
- Window and door frame sealing
- Side panel trim and molding joints
- Clearance lights and marker installation
- Storage bay doors and hatches
- Slideout mechanism protection
Disponível em várias cores including Clear, White, Black, and Grey for perfect color matching.
View BoPin 380 Weather-Resistant Sealant Details →
Professional Alternative for Metal Applications
BoPin MS-340 Metal Roof & Panel Sealant
Specialized for Metal RV Components: Advanced MS polymer technology specifically formulated for metal roofing systems with exceptional movement capability.
Metal RV Advantages:
- Non-corrosive formula safe for aluminum, steel, and coated metals
- Extreme movement capability (±50%) ideal for thermal expansion
- Resistência à vibração maintains seal integrity despite road conditions
- Paintable finish allows color matching after curing
View BoPin MS-340 Metal Roof Sealant →
4. How to Reseal Your Camper: A Step-by-Step Pro Guide
Follow this professional process for seals that last decades, not seasons.
Step 1: The Perfect Prep (The Most Critical Step!)
Surface preparation determines success or failure of your entire sealing project. Professional RV technicians spend 70% of their time on proper preparation.
Complete old sealant removal:
- Faça uma pontuação ao longo de ambas as bordas of old sealant with sharp utility knife
- Remove every trace of old material using plastic scrapers (never metal on fiberglass)
- Clean residue with appropriate solvent – denatured alcohol works for most applications
- Final inspection – any remaining old sealant will prevent proper adhesion
Surface cleaning protocol:
- Degrease thoroughly using denatured alcohol and clean rags
- Remove all traces of wax, polish, and road grime
- Deixe secar completamente. – trapped moisture causes adhesion failure
- Final wipe with clean, lint-free cloth just before sealant application
Critical checkpoints:
- No residue remains from old sealant removal
- Surface is completely dry with no contamination
- Weather conditions are suitable (avoid wind, rain, extreme temperatures)
Step 2: Apply a Consistent Bead
Professional application technique ensures complete protection without waste or mess.
Preparação do cartucho:
- Cut tip at 45-degree angle slightly smaller than desired bead width
- Puncture inner seal completely to ensure smooth flow
- Test flow on scrap material to verify consistent pressure
Técnica de aplicação:
- Maintain steady gun pressure throughout the application
- Keep consistent speed to create uniform bead size
- Apply slightly more than needed – you can remove excess but can’t easily add more
- Trabalhe em seções gerenciáveis to maintain working time control
For self-leveling products (roofs):
- Apply in continuous beads without stopping within a section
- Allow product to flow naturally – don’t try to tool or smooth
- Trabalhe sistematicamente to avoid missed areas or double coverage
Step 3: Tooling (For Non-Sag Sealants Only)
Proper tooling creates professional appearance and ensures complete adhesion to both surfaces.
Professional tooling process:
- Work within the working time (typically 10-20 minutes after application)
- Utilize a solução de ferramentas apropriada. – minimal soapy water for most products
- Tool with steady pressure creating slight concave profile for water runoff
- Remova o excesso imediatamente before it becomes difficult to clean
Tooling tips:
- Trabalhe com pinceladas únicas e contínuas. when possible
- Não use ferramentas demais – excessive working can compromise adhesion
- Limpe as ferramentas com frequência. to prevent sealant buildup
- Check for voids or gaps and address immediately
Etapa 4: Cura e Proteção
Respect the curing process for maximum long-term performance.
Cronograma de cura:
- Formação inicial da pele: 15-90 minutes depending on product and conditions
- Light rain resistance: 2-4 hours for most quality products
- Full weatherproofing: 24-48 hours before heavy weather exposure
- Complete cure: 7-14 days for maximum properties
Protection during cure:
- Keep area dry during initial skin formation period
- Avoid contact with the curing sealant
- Proteger da contaminação (dust, leaves, insects)
- Don’t stress the seal until adequate strength develops
5. RV Sealant FAQ
How often should I inspect and reseal my camper?
Inspect your RV sealants at least twice a year – once before your travel season and once at season’s end. Reseal as needed, typically every 3-5 years for horizontal surfaces and 5-7 years for vertical applications when using quality products. High-use areas like slideouts and frequently opened hatches may need attention more frequently.
Can I use regular hardware store silicone on my RV?
No – this is one of the most expensive mistakes RV owners make. Regular hardware store silicones lack the movement capability, UV resistance, and multi-material adhesion required for RV applications. They typically fail within 1-2 years, often causing extensive water damage that far exceeds the cost of proper RV sealants.
What’s the best way to remove old RV caulk?
Complete removal requires patience and the right technique:
- Marque ambas as bordas com um estilete afiado para romper a adesão.
- Use plastic scrapers only on fiberglass to avoid surface damage
- Apply heat carefully with a hair dryer to soften stubborn areas
- Utilize solventes apropriados. (denatured alcohol, mineral spirits) for residue removal
- Never use metal tools on painted or fiberglass surfaces
Should I seal my RV myself or hire a professional?
DIY sealing is definitely possible with proper preparation and quality products. However, consider professional help for:
- Extensive roof work requiring ladder access and safety equipment
- Structural damage discovered during inspection
- Insurance claims where professional documentation is required
- High-end coaches where mistakes could be very expensive
How do I know if my RV has water damage?
Early warning signs include:
- Soft spots in floors or walls when pressed
- Musty odors especially after rain
- Water stains on interior walls or ceilings
- Separation of wall panels or trim
- Borbulhando in interior wall coverings
Don’t wait – water damage accelerates rapidly in RVs.
Conclusion: A Weekend Project for a Decade of Protection
Proactive RV sealing with the correct products is the best insurance policy you can buy for your investment. The difference between amateur and professional results lies in understanding that self-leveling sealants belong on horizontal surfaces enquanto non-sag formulations excel on vertical applications.
The cost of prevention is minimal compared to the cost of water damage repair. A complete professional-grade sealing job costs less than a single night’s stay at many RV parks, but provides years of worry-free protection.
Quality matters immensely in RV sealants. Products like BoPin PU-440 for roof applications and BoPin 380 for vertical surfaces provide the movement capability, UV resistance, and multi-material adhesion that standard hardware store products simply cannot match.
Your RV represents freedom, adventure, and significant financial investment. Don’t compromise that investment with inferior sealants that fail when you need protection most. Professional-grade products applied with proper technique provide decades of reliable protection for the cost of a few camping trips.
The next time you’re preparing for travel season, make sealing inspection and maintenance your top priority. Your future self will thank you when you’re enjoying worry-free adventures instead of dealing with expensive water damage repairs.
Don’t wait for a leak to ruin your next adventure. Get the professional-grade sealants you need to do the job right the first time and protect your investment for years to come.
Professional RV technicians trust BoPin Construction Chemicals for critical sealing applications. Our specialized formulations ensure your repairs provide factory-quality protection with comprehensive technical support available for optimal results.