Tired of Ugly, Moldy Caulk? Here’s How to Fix It for Good.
Picture this: You’re cleaning your bathroom and notice those familiar black spots creeping along your shower edges. What started as a few small dots has spread into ugly mold lines that make your otherwise clean bathroom look dirty and neglected. Sound familiar?
You’re not alone. Thousands of homeowners face this same frustrating problem every year. The moldy caulk isn’t just unsightly – it’s also unhealthy and can signal bigger water damage problems lurking behind your tiles.
But here’s the good news: This problem is completely preventable when you choose the right products and apply them correctly. This comprehensive guide will walk you through every step of the process. By the time you’re done reading, you’ll know exactly which product to buy and how to apply it like a professional contractor. The result? A clean, waterproof, and permanently mold-free seal that lasts for decades.
As construction chemical specialists, we’ve helped solve caulking problems in bathrooms and kitchens across the globe. Let’s make sure your next caulking project is your last one for many years to come.
1. The #1 Rule for Bath & Kitchen: Always Use 100% Silicone
Here’s the most important thing you need to know: Your bathroom and kitchen are high-moisture, high-humidity war zones. These environments will destroy inferior sealants within months, leaving you with the endless cycle of removal and re-application.
The solution is simple but critical: Always use 100% silicone sealants for wet areas. Here’s why this matters so much.
Why Silicone vs. Acrylic Latex (“Painter’s Caulk”)
Many homeowners make the costly mistake of using acrylic latex caulk in bathrooms. This “painter’s caulk” is excellent for filling gaps before painting in dry areas. It’s paintable, easy to tool, and inexpensive. However, it’s absolutely the wrong choice for wet environments.
Acrylic latex caulk has several fatal flaws in bathroom applications:
- Absorbs water – Unlike silicone, acrylic actually soaks up moisture, leading to swelling, cracking, and failure
- Feeds mold growth – The organic compounds in acrylic provide food for mold and mildew
- Poor flexibility – Bathroom materials expand and contract with temperature changes, causing rigid acrylic to crack
- Limited chemical resistance – Bathroom cleaners and bleach can break down acrylic compounds
Think of it this way: Using acrylic caulk in a shower is like using a paper umbrella in a storm. It might work briefly, but failure is inevitable. 100% silicone, on the other hand, is like having a professional-grade waterproof barrier that’s specifically engineered to handle everything your bathroom can throw at it.
2. Not All Silicones Are Created Equal: Your Buyer’s Checklist
Now that you know to use 100% silicone, your next challenge is choosing the right type. Not all silicones deliver the same performance. Here are the critical features that separate professional-grade products from basic options.
Feature 1: Mold-Free Protection (The Most Important)
This is the feature that makes or breaks your bathroom caulking project. Look for products that specifically advertise “mold and mildew resistance” or “anti-fungal technology.”
What this means: These products contain special additives that prevent mold from growing on or in the caulk itself. The protection lasts for the life of the sealant – typically 15-20 years when properly applied.
Why it matters: Without this protection, even the best silicone can become a breeding ground for mold. The moisture and warmth in bathrooms create perfect conditions for fungal growth. University research confirms that bathrooms are among the highest-risk areas for mold development. Anti-mold additives break this cycle permanently.
Feature 2: Quick-Curing / Water-Ready Time
Traditional silicones often require 24-48 hours before water exposure. This means your family can’t use the shower for up to two days. Modern high-performance products can be water-ready in just 30 minutes to 2 hours.
For busy families, this feature is invaluable. You can complete your caulking project on a Saturday morning and have your shower ready for evening use. Look for products that specifically state “shower-ready in 30 minutes” or similar quick-cure claims.
Feature 3: Adhesion & Flexibility
Your bathroom contains multiple materials: ceramic tiles, porcelain fixtures, fiberglass tubs, metal faucets, and glass shower doors. Your sealant must bond reliably to all these different surfaces without requiring primers or special preparation.
Equally important is flexibility. Bathroom materials expand and contract with temperature changes from hot showers. High-quality silicones maintain their seal while stretching and compressing with this natural movement. Inferior products crack and lose adhesion, allowing water infiltration.
Feature 4: Color & Finish Options
The aesthetic aspect matters more than you might think. Your caulk lines are visible design elements that can enhance or detract from your bathroom’s appearance.
Color matching is crucial:
- Clear – Works with any color scheme but can show soap scum more easily
- White – The most popular choice, complements most bathroom designs • Almond/Bone – Matches cream-colored fixtures and tiles
- Grey – Modern choice that coordinates with contemporary designs
Pro tip: Choose colors that match your fixtures rather than your tile. Fixtures are permanent, but you might change tile or paint colors in the future.
With these critical features in mind, let’s move on to the hands-on application process that ensures professional results.
3. Step-by-Step Guide: How to Caulk Your Shower Like a Pro
Proper application technique is just as important as choosing the right product. Follow these professional steps for results that last decades, not months.
Step 1: Complete Removal of Old Caulk
This is the most critical step that many DIYers rush through. Any old caulk residue will prevent proper adhesion of your new sealant. Take the time to do this step perfectly.
Your goal: Remove every trace of old material down to the original substrate.
Tools you’ll need:
- Sharp utility knife with fresh blades
- Caulk removal tool (or old chisel)
- Caulk softening gel (for stubborn residues)
Technique:
- Cut along both edges of the old caulk to break the adhesion seal
- Work in sections rather than trying to remove entire lengths at once
- Use steady, controlled pressure to avoid damaging tiles or fixtures
- Check for hidden residues in corners and tight spaces
Step 2: Clean and Dry Thoroughly
Any contamination will compromise your new seal. Professional contractors know that cleaning is just as important as the sealant itself.
What to remove:
- Soap scum and mineral deposits
- Mold or mildew stains
- Oils from previous caulk removal
- Dust and loose particles
Recommended cleaning process:
- Start with household bathroom cleaner to remove soap scum and deposits
- Use isopropyl alcohol (70% or higher) as your final cleaning step to remove oils and ensure quick drying
- Allow complete air drying – any trapped moisture will interfere with curing
Pro tip: Use a hair dryer to speed drying in humid conditions.
Step 3: Apply the New Silicone
This is where technique makes the difference between amateur and professional results.
Preparation:
- Cut the cartridge nozzle at a 45-degree angle to match your desired bead width
- Start with a smaller opening – you can always cut more, but you can’t make it smaller
- Test your caulk gun on cardboard to ensure smooth, consistent flow
Application technique:
- Hold the gun at a 45-degree angle to the joint
- Move at a steady speed – approximately 6 inches per 10 seconds for most applications
- Apply slightly more than needed – you’ll tool away the excess for a perfect finish
- Work in continuous sections – avoid stopping and starting mid-joint when possible
Step 4: Smooth the Bead (The Professional Secret)
This step separates DIY jobs from contractor-quality results. The goal is to create a smooth, concave bead that sheds water effectively.
The Finger Method:
- Dip your finger in soapy water to prevent sticking
- Draw your finger along the bead in one continuous motion
- Maintain consistent pressure for uniform appearance
- Re-wet your finger as needed to maintain smoothness
The Painter’s Tape Method (For Perfect Lines):
- Apply masking tape along both sides of the joint before caulking
- Leave a gap slightly wider than your desired bead width
- Apply caulk and tool as normal
- Remove tape immediately while caulk is still workable
Step 5: Cure and Protect
Respecting cure time is essential for long-term performance. Don’t rush this final step after doing everything else correctly.
Curing timeline:
- Skin formation: 10-30 minutes – Surface becomes touch-dry
- Initial cure: 1-4 hours – Light water exposure acceptable (varies by product)
- Full cure: 24-48 hours – Maximum performance and chemical resistance achieved
During curing:
- Protect from dust and debris that could stick to the surface
- Avoid disturbing the bead even if it looks dry
- Ensure adequate ventilation to help moisture escape
Now that you understand the application process, let’s look at our recommended products that deliver these professional results.
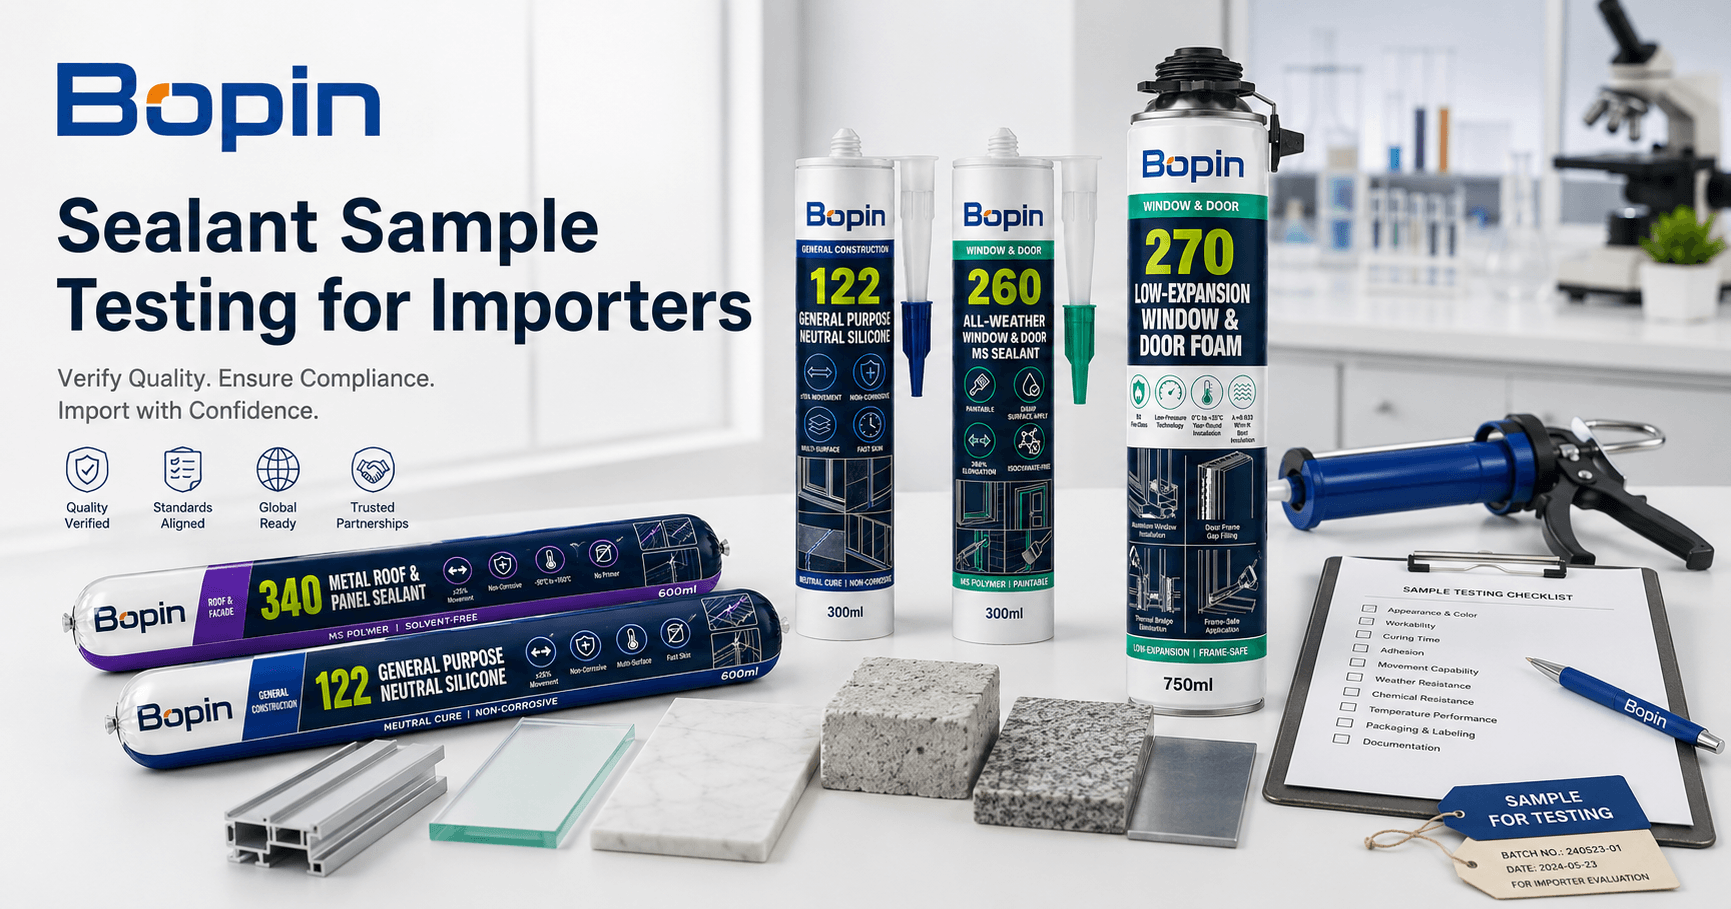
4. Our Recommended Solutions for a Perfect, Mold-Free Seal
Based on the critical features we’ve discussed, here are our proven solutions that deliver the mold resistance, durability, and ease of application you need for bathroom and kitchen success.
BoPin 550 Sanitary Neutral Silicone Sealant
For Maximum Mold and Mildew Resistance
This is our premium solution for homeowners who want the ultimate protection against mold problems. Specially engineered for wet environments, this product delivers the peace of mind that comes with professional-grade protection.
Key Performance Features:
- Advanced anti-mold technology – Superior resistance to fungus growth with XS1 sanitary class rating (the highest available)
- 30-minute water barrier formation – Your shower is ready for use faster than traditional products
- Chemical resistance – Withstands bleach, bathroom cleaners, and harsh disinfectants without degradation
- Stone-safe formula – Safe for marble, granite, and natural stone without staining concerns
- MEKO-free composition – Environmentally responsible formulation that’s safer for your family
Best Applications: Perfect for showers, tubs, and sinks – any area with constant water exposure. This is your go-to choice when mold prevention is the top priority.
Available in 280ml cartridges and 400ml foil packages with color options including Clear, White, Grey, Manhattan (Jasmine), and Black.
BoPin 122 General Purpose Neutral Silicone
For Versatile Kitchen and Bath Applications
This is our reliable workhorse for homeowners who need proven performance across multiple applications. While it doesn’t have the specialized anti-mold additives of our 550 Sanitary product, it offers excellent general-purpose performance for various wet area applications.
Core Performance Features:
- ±25% movement capability – Exceptional flexibility for thermal expansion and building movement
- Broad material compatibility – Bonds to glass, ceramic, metal, and most plastics without primers
- -40°C to +120°C temperature range – Handles extreme temperature variations
- Low VOC content – Safe for indoor use with minimal odor during curing • 18-month shelf life – Excellent for contractors and homeowners who buy in advance
Best Applications: Ideal for general bathroom and kitchen sealing where mold resistance isn’t the primary concern. Excellent for window perimeters, general fixture sealing, and maintenance projects.
Available in 300ml cartridges and 600ml foil packages with color options including Clear, White, Black, Grey, and Brown.
Product Selection Quick Reference:
| Your Priority | Recommended Product | Key Benefit |
| Maximum Mold Protection | BoPin 550 | Sanitary Advanced anti-fungal technology |
| Fast Water-Ready Time | BoPin 550 | Sanitary Shower-ready in 30 minutes |
| General-Purpose Reliability | BoPin 122 | General Proven performance, broad compatibility |
| Budget-Conscious Choice | BoPin 122 | General Excellent value for standard applications |
5. Your Top Bathroom Caulking Questions, Answered
These are the questions we hear most from homeowners tackling bathroom caulking projects. Getting these answers right prevents costly mistakes and ensures long-term success.
Can I put new silicone over old caulk?
No, absolutely not. This is one of the most common mistakes that leads to premature failure. New silicone will not bond properly to old caulk, regardless of the condition of the existing material.
Why this fails: Silicone has a naturally low surface energy that prevents the adhesion of new materials. Even if the new caulk appears to stick initially, it will peel away within weeks or months.
The correct approach: Complete removal of all old material is non-negotiable. Yes, it’s time-consuming and messy, but it’s the foundation of a successful project.
How do I get a perfectly smooth caulk line?
The key is using the right technique and tools for your skill level. Professional contractors use their fingers because they’ve developed the muscle memory for consistent pressure and speed. DIYers often get better results with the tape method.
Tape method recap:
- Apply painter’s tape on both sides of the joint before caulking
- Make the gap slightly wider than your desired bead
- Caulk normally and tool with your finger
- Remove tape immediately while caulk is workable
Pro tip: The secret to smooth lines is consistent speed and pressure. Practice on cardboard first if you’re nervous about the technique.
How long does bathroom caulk last?
High-quality 100% silicone with proper anti-mold protection should last 15-20 years when correctly applied. However, several factors affect lifespan:
Factors that extend life:
- Quality anti-mold protection in the product
- Proper surface preparation and application
- Good bathroom ventilation
- Regular cleaning to prevent soap scum buildup
Factors that shorten life:
- Using acrylic or hybrid products instead of 100% silicone
- Poor surface preparation
- Inadequate ventilation leading to excessive moisture
- Harsh cleaning practices or products
Why did my “mold-free” caulk get moldy?
This is a frustrating situation that usually has a specific cause. True mold-resistant caulk rarely develops mold on the caulk itself. What people often see is mold growing on soap scum and organic deposits that have built up on top of the caulk.
Common causes:
- Soap scum buildup – Creates a food source for mold growth on the surface
- Poor ventilation – Excessive humidity overwhelms even the best products
- Inadequate cleaning – Regular maintenance is still required
- Water infiltration – If water gets behind the caulk, mold can grow in hidden areas
According to ASTM International standards, proper sealant selection and installation are critical factors in preventing moisture infiltration and subsequent mold problems.
The solution: Regular cleaning with mold-resistant products and ensuring good bathroom ventilation. Quality anti-mold caulk makes cleaning easier and more effective, but it doesn’t eliminate the need for maintenance.
What’s the difference between bathroom and kitchen applications?
Both areas are wet environments, but they have different challenges: Bathrooms face constant high humidity and temperature swings. Kitchens deal with food acids, grease, and different cleaning chemicals.
For most homeowners, the same high-quality bathroom silicone works well in both areas. However, if you do a lot of cooking with acidic foods or use harsh degreasers, look for products specifically tested for kitchen chemical resistance.
Conclusion: Get the Right Product, Do the Job Once
Let’s recap the three most important points that determine success or failure:
1) Always use 100% silicone for wet areas. Don’t be tempted by cheaper acrylic products. The small savings will cost you many times more in failed applications and water damage.
2) Complete removal and cleaning of old caulk is non-negotiable. This step takes the most time but is the foundation of everything that follows. Rush this step, and your project will fail regardless of product quality.
3) Choose products with proven mold-free protection. Generic silicone products may resist water, but they won’t resist mold growth. Invest in specialized bathroom products that are engineered for your specific challenges.
Your bathroom and kitchen deserve better than the endless cycle of caulk failure and replacement. When you use the right products and proper techniques, caulking becomes a once-every-20-years project instead of an annual headache.
Stop the endless cycle of re-caulking. Explore our complete range of advanced Kitchen & Bath Sealants and get the professional, long-lasting results your home deserves. Your family will thank you for creating healthier, more beautiful spaces that stay that way for decades.
BoPin Chemical – Professional Construction Chemicals for Global Markets. Trusted by professionals across Central Asia, the Middle East, Southeast Asia, and Africa for reliable sealing solutions that work in the world’s most challenging climates.