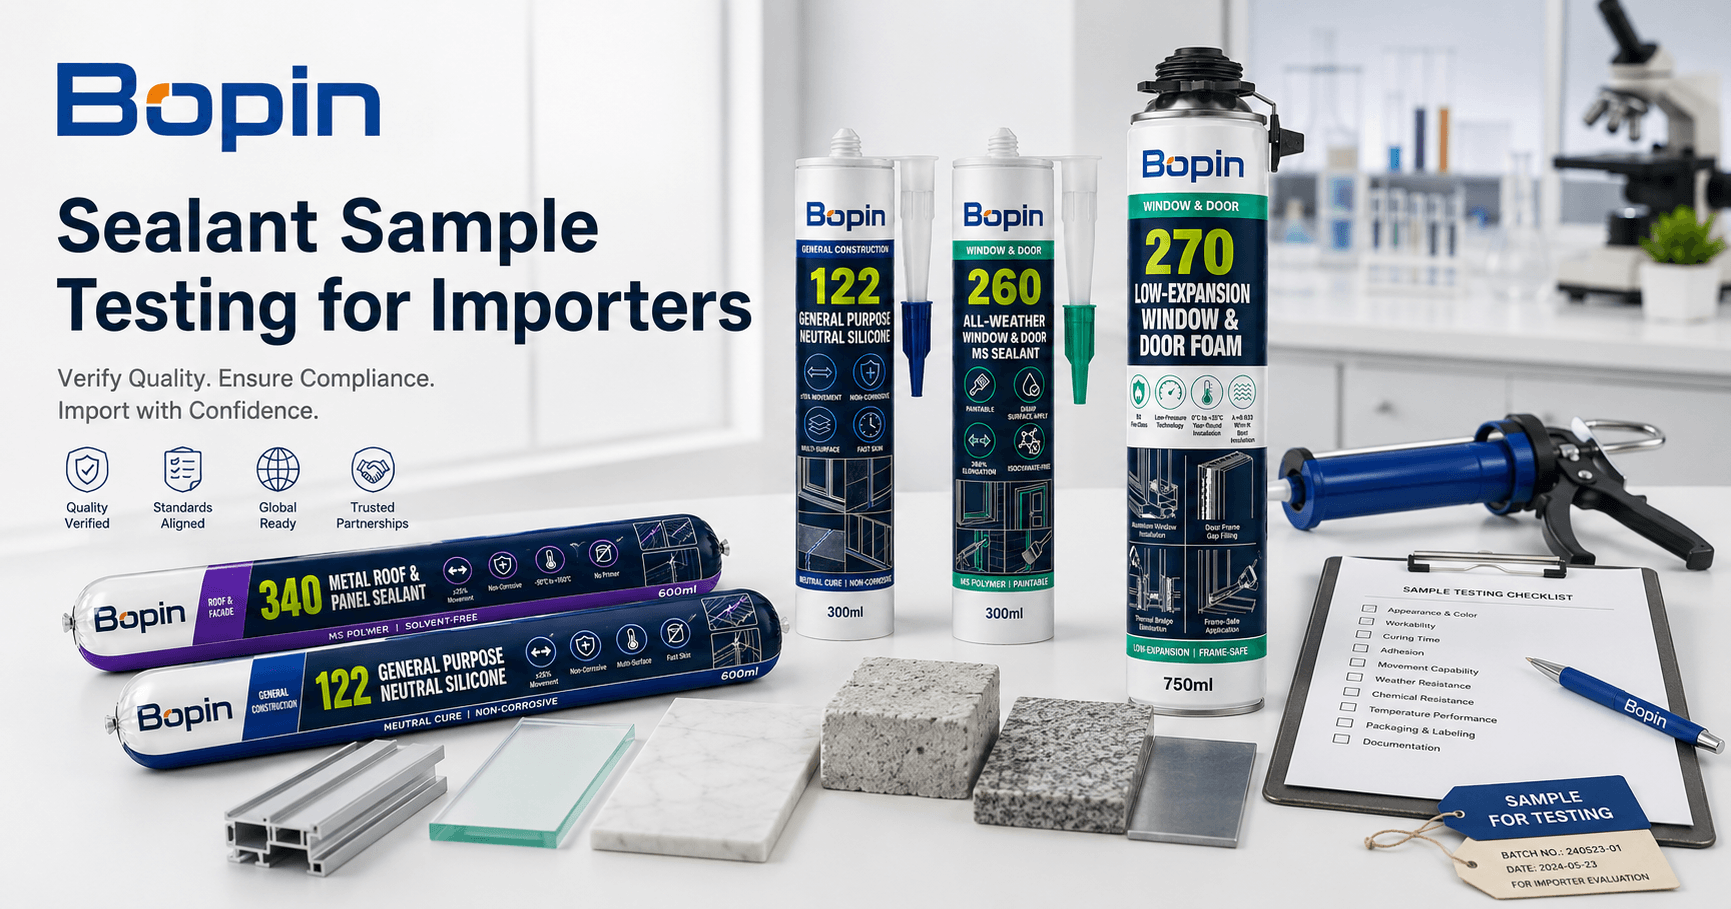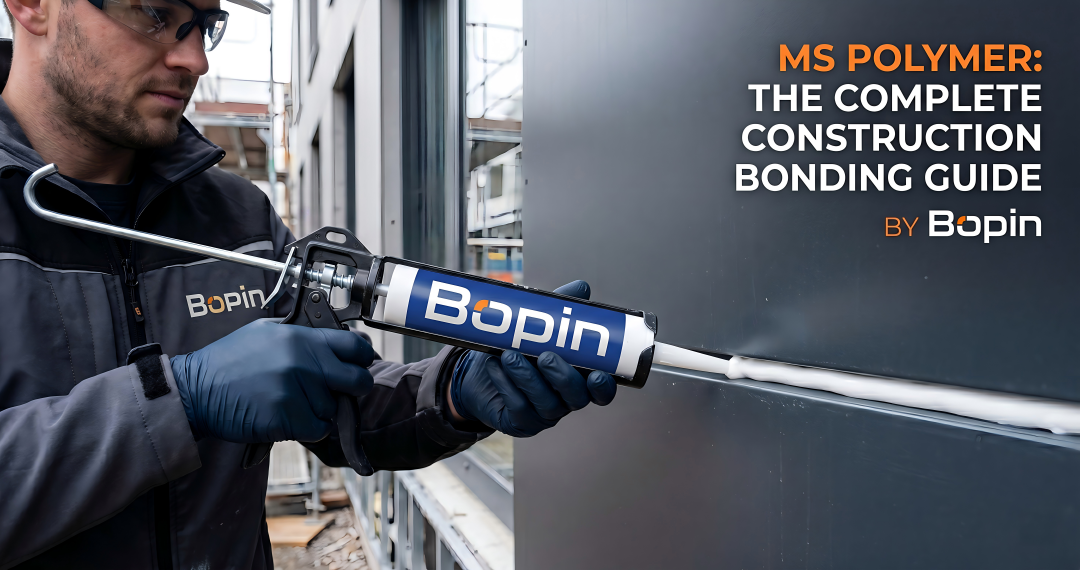
Before placing a bulk order for construction sealants, importers should always test samples first — and not just by glancing at the product.
A proper sample evaluation confirms workability, curing performance, adhesion to local substrates, packaging quality, odour, appearance, and overall compatibility with the materials used in your market. These are the factors that decide whether end customers come back to reorder or call your sales team with complaints.
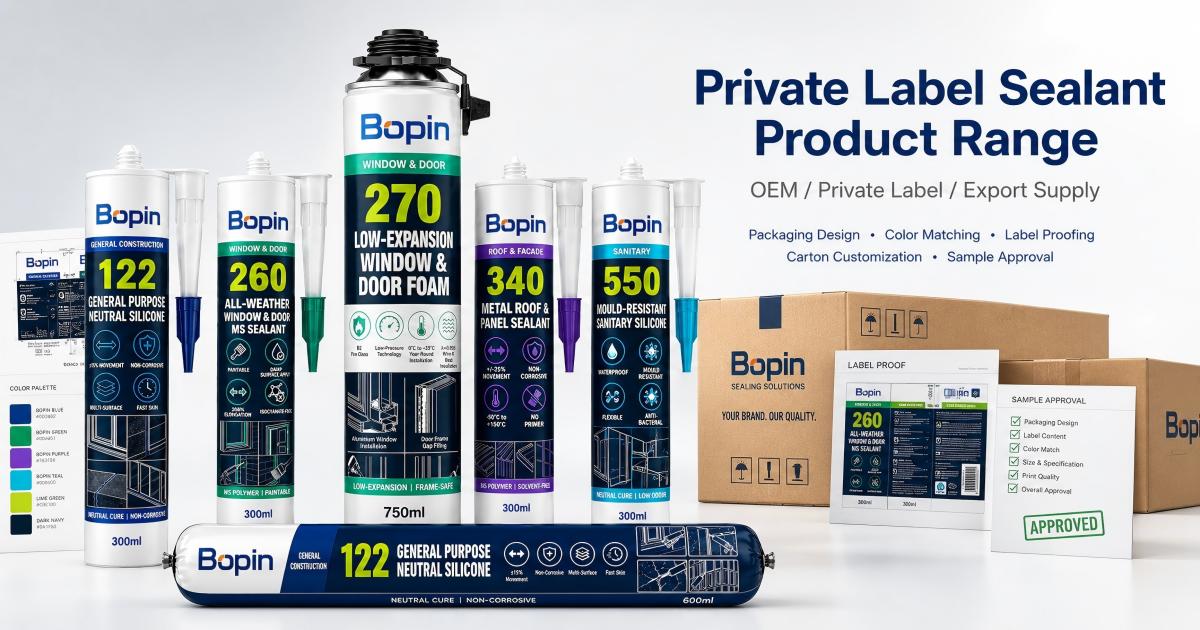
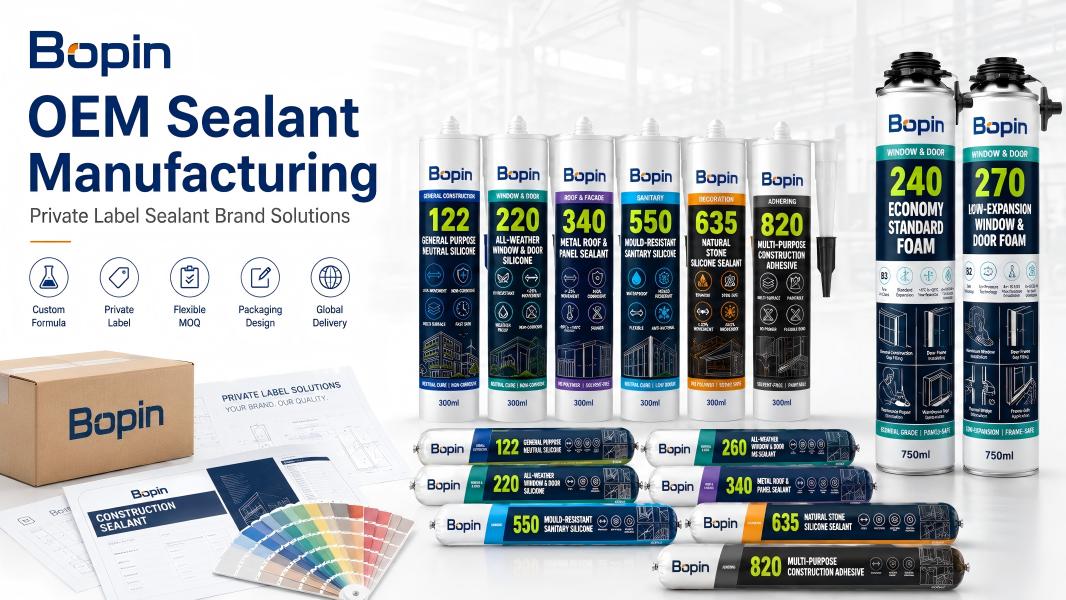
For private label and OEM buyers, sample testing is even more critical. Once packaging is printed and mass production begins, changes to the formula or label become expensive — and sometimes impossible without scrapping inventory.
A structured sample test reduces risk before you commit capital to silicone sealants, MS polymer sealants, PU foam, acrylic sealants, or construction adhesives. This guide gives importers, distributors, and private label buyers a practical checklist to follow before approving any bulk order.
Why Sealant Sample Testing Matters
Sealants are functional construction materials, not generic commodities. The same formula can perform very differently depending on climate, substrate, joint design, application method, and storage conditions.
A window sealant must bond reliably to aluminium, glass, and masonry. A metal roof sealant has to hold on coated metal sheets without lifting. A natural stone sealant cannot stain marble or granite at the joint edge. A PU foam needs to expand evenly without distorting the frame. None of this can be confirmed from a TDS alone — it has to be tested under real conditions.
Sample testing helps importers verify product suitability before committing to bulk volume. The main benefits include:
- Reducing quality risk before mass production
- Confirming compatibility with local substrates
- Verifying workability for the contractors who will actually use the product
- Comparing different grades or different suppliers side by side
- Avoiding customer complaints after market launch
- Checking packaging, label printing, and color marking
- Supporting confident product selection for private label projects
You do not need a full laboratory to start. Many of the most useful tests can be done with simple tools and the same materials your end customers work with every day.
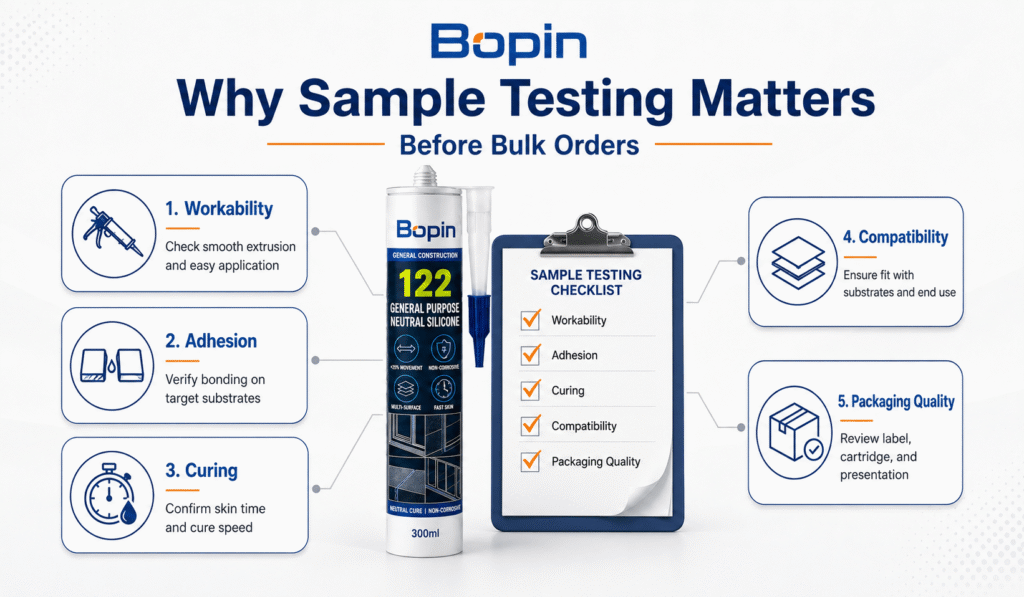
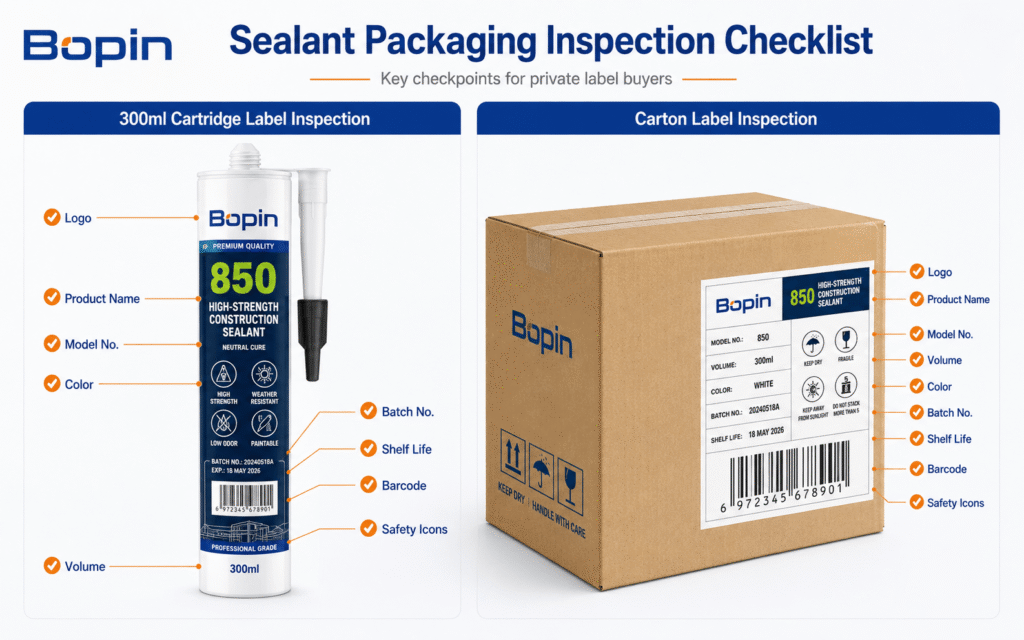
1. Check Packaging and Label Appearance
For importers and private label buyers, packaging is the first thing your customer sees on the shelf or on the jobsite. Inspect the packaging before you ever touch the sealant inside.
What to inspect on the cartridge or sausage pack:
- Printing quality (sharpness, color registration, no smudging)
- Logo size and position
- Product name and product number
- Application category and main selling points
- Net volume marking
- Product color identification
- Manufacturing date area and shelf life
- Safety warnings and hazard icons
- Barcode position and scannability
- Label language(s) and accuracy
- Cartridge body strength and cap/nozzle quality
- Carton printing, lot number, and shipping marks
A great product in a poor-looking package will struggle in distribution. For retail and dealer channels, the packaging needs to communicate the application at a glance.
If your brand uses a color system to distinguish application categories — silicone, MS polymer, PU foam, fire-rated, sanitary, and so on — confirm that the color coding is consistent across every product in the sample shipment.
2. Test Extrusion Smoothness
Extrusion smoothness is one of the first things a contractor notices — and one of the first things they will complain about if it is wrong.
A sealant should flow steadily from the cartridge or sausage pack without forcing the operator to fight the gun. On large projects, a product that requires excessive hand pressure leads to fatigue, slower application, and inconsistent bead quality.
How to test:
- Condition the sample at room temperature before testing.
- Load it into a suitable sealant gun (cartridge gun or sausage gun as appropriate).
- Cut the nozzle at a consistent angle and opening size.
- Apply a continuous bead on a flat surface.
- Repeat with each sample under identical conditions for fair comparison.
Look for:
- Is the paste too stiff or too runny?
- Does it flow evenly, or pulse in spurts?
- Does it block the nozzle?
- Does the bead break or string during application?
- Is the hand pressure comfortable for sustained use?
Smooth extrusion improves jobsite efficiency, reduces material waste, and protects your brand reputation with installers.
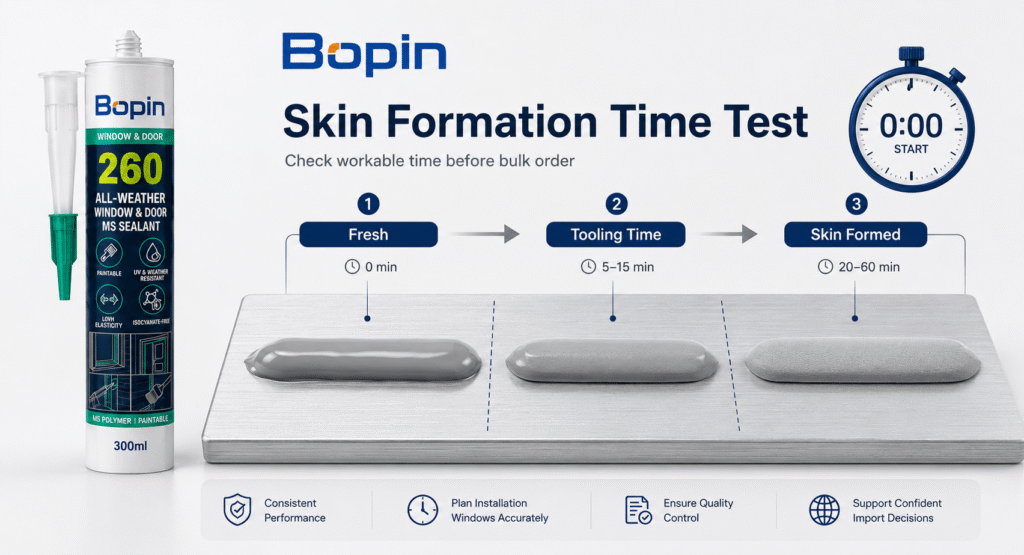
3. Check Skin Formation Time
Skin formation time is the period between application and the moment the bead surface forms a non-tacky skin. It directly affects how much time installers have to tool the joint.
A skin time that is too short leaves no room to smooth the joint cleanly. A skin time that is too long lets dust settle on the surface and slows down the project.
How to test:
- Apply a bead on a clean, non-absorbent surface.
- Start a timer the moment application is finished.
- Touch the bead gently at regular intervals with a clean spatula or gloved finger.
- Record the time when the surface no longer transfers material to the tool.
- Compare the result against the supplier’s TDS.
Conditions that shift skin time:
- Hot weather shortens it.
- Cold weather extends it.
- High humidity accelerates moisture-curing products.
- Deep beads cure more slowly than thin surface films.
Different chemistries behave differently. General-purpose silicone, neutral silicone, MS polymer sealants, and PU foams each have their own skin-time profile, so always compare against the supplier’s stated values rather than against an unrelated product.
4. Test Cure Rate and Full Curing
Cure rate describes how quickly the sealant cures from the surface inward — not how quickly the surface alone becomes touch-dry.
Many buyers check skin time and stop there. That is a mistake. A sealant can develop a firm skin within an hour while the core remains uncured for days. In deep joints, this leads to poor performance and complaints that surface long after delivery.
How to test:
- Apply the sealant into a bead with controlled thickness (a strip 8–10 mm deep is useful for evaluation).
- Leave it under normal local conditions.
- Slice the bead at 24 hours.
- Measure how deep the cured layer extends.
- Repeat at 48 hours if needed.
- Compare results across samples.
Look for:
- Is the inside still wet or tacky?
- Is curing even across the cross-section?
- Does the product shrink visibly during cure?
- Are there surface cracks or skin separation?
- Does the cured material develop the expected elasticity?
For deep joints, cure rate is decisive. Remind your customers that full mechanical performance can take several days to develop, depending on chemistry, bead size, temperature, and humidity.
5. Test Adhesion to Local Substrates
Adhesion is the single most important performance factor — and the one most often skipped in early sampling. Test the sealant on the actual materials your customers work with, not on a single reference surface.
Common substrates worth testing:
- Glass and tempered glass
- Bare aluminium and powder-coated aluminium
- PVC profiles
- Ceramic and porcelain tiles
- Concrete and masonry
- Galvanized steel and coated metal sheets
- Natural stone (marble, granite, limestone)
- Timber and engineered wood
- ACP (aluminium composite panels)
Simple peel-back adhesion test:
- Clean each substrate thoroughly.
- Apply a bead of sealant 5–8 mm thick.
- Allow full cure time.
- Make a clean cut at one end and pull the bead back at a 90° or 180° angle.
- Observe the failure mode.
A good result shows cohesive failure — the sealant tears within itself before releasing from the surface. Adhesive failure — clean separation at the bond line — points to a compatibility problem or a need for primer.
For project-grade or facade applications, laboratory testing to ASTM C794 or similar is the right next step. But a hand-pull test on local materials still catches most early-stage problems before they reach your customer.
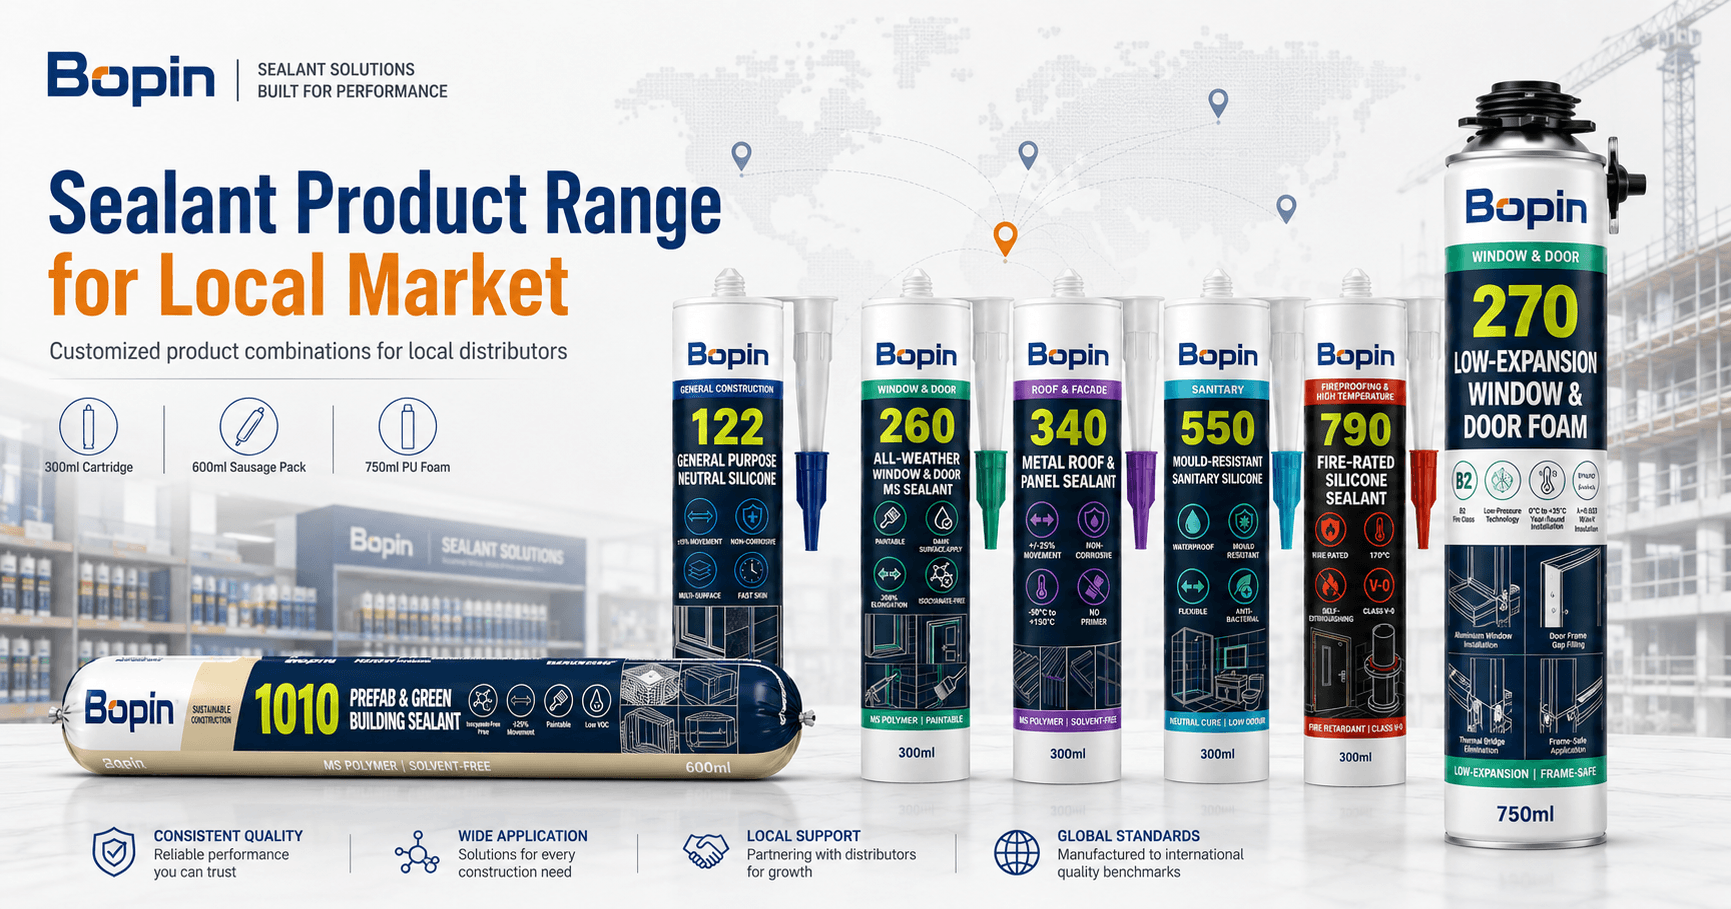
The BoPin catalog covers products engineered for specific substrate challenges — aluminium and glass for windows, coated metal for roofing, porous natural stone, sanitary surfaces, facade joints, wood flooring, and panel bonding.
【图片位置:本节后】 图片主题:Adhesion Test on Different Substrates 图片要求: 做成测试矩阵图: 横向摆放不同基材小样:Glass / Aluminium / Concrete / Ceramic / Metal / Stone / Wood / ACP 每个基材上有一条 sealant bead 画面干净,像 B2B 产品测试图 建议尺寸: 1200 × 800 px Alt Text: Sealant adhesion test on glass aluminium concrete metal and stone
6. Check Sag Resistance for Vertical Joints
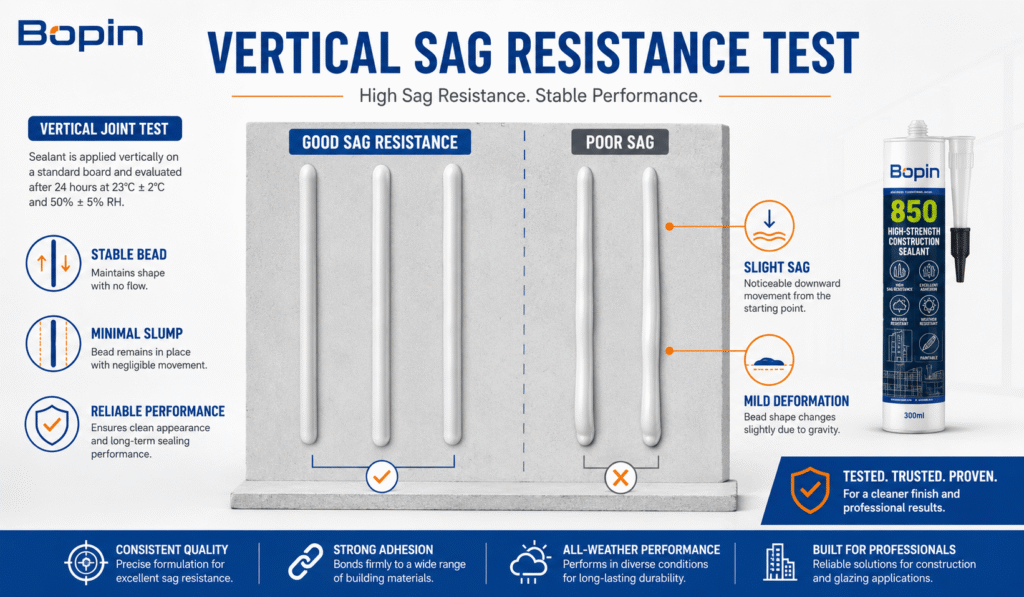
Sag resistance — sometimes called slump resistance — matters whenever the joint runs vertically or overhead. A sealant that slowly slides downward after application creates uneven beads, wasted material, and unhappy contractors.
Applications where sag resistance is critical:
- Window and door perimeter joints
- Facade and curtain wall joints
- Interior vertical joints in walls and partitions
- Panel and trim bonding
- Fire-rated joint sealing
- Sanitary vertical corners (e.g. shower walls)
How to test:
- Mount a test board vertically.
- Apply beads of consistent size from each sample.
- Wait through the expected tooling window.
- Observe whether the bead retains its shape or migrates downward.
- Photograph the result for comparison.
A truly non-sag product holds its geometry from application through full cure, allowing installers to produce clean, uniform joints without rework.
7. Evaluate Tooling and Surface Finish
Tooling determines the visual quality of the finished joint — and visual quality is what end users actually judge.
A good sealant should smooth easily before skin formation, leave a clean joint edge, and hold its shape after the spatula passes. A product that drags, tears, or sticks to the tool will frustrate even experienced installers.
During tooling, check:
- Does the bead smooth without dragging?
- Does the material lift off the tool cleanly?
- Are the edges sharp and consistent?
- Does the surface stay smooth after curing, or texture up?
- Does the joint hold its profile, or slump after tooling?
For acrylic sealants and interior decoration sealants, finish quality is especially important because the joint will often be painted. For sanitary silicone, a smooth surface also resists dirt and biofilm buildup — a meaningful long-term performance factor.
8. Check Odour and Indoor Air Comfort
Odour rarely appears on the headline spec sheet, but it has a real impact on user experience — especially in interior and occupied-building applications.
Products where low odour is a selling point:
- Acrylic sealants
- MS polymer sealants
- Interior decoration sealants
- Sanitary silicone (bathrooms, kitchens)
- Sealants used in occupied buildings, hotels, hospitals, and schools
- Green building and prefabricated construction products
What to evaluate:
- Is the smell aggressive during application?
- Does odour linger after curing?
- Is the product comfortable to use in enclosed indoor spaces?
- Does the smell match buyer expectations in your market?
- Can the supplier provide VOC content data when required?
For markets where green building certification or indoor air quality is becoming a purchasing criterion — increasingly common in the Middle East, Southeast Asia, and Europe — low-VOC and solvent-free formulations are no longer optional features.
For green building projects, importers may also need to check local VOC or indoor air quality requirements.
9. Test Paintability if Required
Not all sealants accept paint, and this is a common source of post-sale complaints.
Most silicone sealants do not take paint reliably. If your market expects paintable joints — particularly for interior decoration and trim work — your default choice should be acrylic or MS polymer, not silicone.
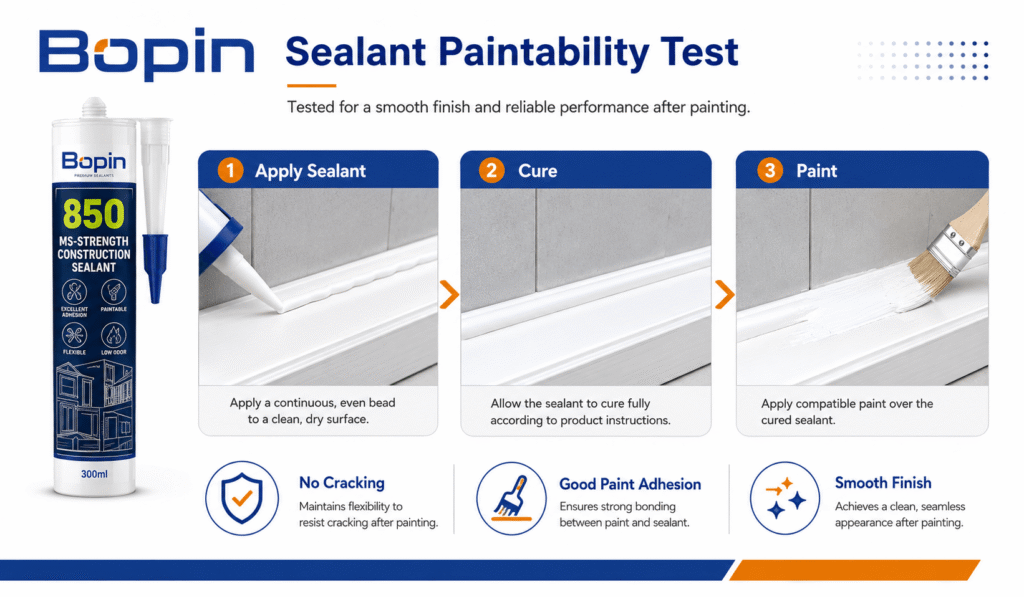
How to test paintability:
- Apply a sealant bead and allow full cure.
- Apply the paint system common in your market (water-based emulsion, alkyd, or other).
- Allow the paint to dry fully.
- Check adhesion between paint and sealant.
- Inspect for cracking, peeling, wrinkling, or color separation.
- Flex the substrate slightly if the joint will see movement in service.
Where paintability matters:
- Interior wall and ceiling crack repair
- Skirting board and baseboard joints
- Cabinet edges and built-in furniture
- Door and window interior trim
- Painted facade and exterior trim joints
Always test with the actual paint used in your market. Different paint chemistries — emulsion, oil-based, two-pack — react differently with the same sealant.
10. Test Staining on Natural Stone
Natural stone deserves its own test category. Standard silicones and unsuitable formulations can cause oil migration, edge darkening, and permanent staining around the joint on porous stones such as marble, limestone, and travertine.
For importers serving stone fabricators, kitchen and bath markets, or façade contractors, a staining test is essential — not optional.
How to test:
- Source actual stone samples from your local market — polished and unpolished if both are sold.
- Apply the sealant in a bead along the stone edge or on the face.
- Leave the sample undisturbed for 5–7 days.
- Inspect for darkening, oil halos, or color shift around the joint.
- Compare under natural daylight, not artificial lighting.
A non-staining formula is essential for stone countertops, stone flooring, shower enclosures, and stone-clad façades. If your market sells any meaningful volume of natural stone, this single test can prevent a costly recall.
11. Test PU Foam Expansion and Density
PU foam sample testing follows different rules from sealant testing. Expansion behavior, density, and adhesion are the variables that determine whether a foam is suitable for window and door installation — the largest single application for PU foam.
What to check:
- Foam yield from a single can (linear meters or liters per can)
- Expansion rate (volume increase from liquid to cured foam)
- Cell structure (fine and uniform vs. coarse and irregular)
- Cutting time and tack-free time
- Cured density
- Adhesion to masonry, concrete, and frame materials
- Post-cure shrinkage
- Surface skin quality
- Valve and trigger performance for can or gun-grade products
For sensitive installations — PVC windows, aluminium thermal-break frames, and slim door profiles — low-expansion foam is usually a better choice than standard foam. Over-expansion can bow frames, lock sashes, and create warranty problems no installer wants to deal with.
The BoPin PU foam range covers both standard-expansion and low-expansion grades, including a dedicated window and door foam (BoPin PU-270) developed specifically to control frame pressure during installation.
12. Compare Samples Under the Same Conditions
When you are comparing multiple suppliers — or multiple grades from the same supplier — testing conditions must be identical. A sample tested in a cool warehouse will look completely different from the same product tested under hot outdoor conditions. Inconsistent conditions produce misleading conclusions.
Hold these variables constant:
- Substrate type and surface preparation
- Bead size and geometry
- Application temperature
- Humidity (as far as practical)
- Curing time before evaluation
- Tooling method
- Paint system (if testing paintability)
- Test date (or at least the same week)
A side-by-side comparison sheet keeps the process objective and makes supplier discussions far more productive than impressions alone.
Sample comparison table:
| Test Item | Sample A | Sample B | Sample C |
|---|---|---|---|
| Packaging appearance | |||
| Extrusion smoothness | |||
| Skin time | |||
| Cure rate | |||
| Adhesion | |||
| Sag resistance | |||
| Odour | |||
| Surface finish | |||
| Paintability | |||
| Overall result |
13. What Documents Should Importers Ask For?
Physical samples alone are not enough. Before signing a bulk order, request the supporting documentation that proves the product is what the supplier says it is.
Essential documents to request:
- Technical Data Sheet (TDS)
- Safety Data Sheet (SDS or MSDS)
- Product specification sheet
- Application instructions
- Shelf life and storage requirements
- Packaging specification (cartridge, sausage, can dimensions and weights)
- High-resolution product photos
- Carton specifications and pallet configurations
- Available color list
- Test reports for project-grade or regulated products
- Certificate of analysis (COA) on request
For projects subject to local building codes — fire-rated joints, facade glazing, structural bonding, or green building certification — you may also need product-specific test reports or compliance certificates (EN, ASTM, ISO, UL, or regional standards). Verbal claims are not enough. Get it in writing before the order ships.
Final Sealant Sample Testing Checklist
Use this summary checklist before approving any bulk sealant order:
| Test Item | What to Check |
|---|---|
| Packaging | Label printing, carton, nozzle, cap, color coding |
| Extrusion | Smooth flow, hand pressure, bead consistency |
| Skin Time | Tooling window and surface drying behavior |
| Cure Rate | Through-cure depth and full-cure behavior |
| Adhesion | Bonding to local substrates and failure mode |
| Sag Resistance | Performance on vertical and overhead joints |
| Tooling | Smooth finish and clean joint edge |
| Odour | Comfort for indoor applications |
| Paintability | Paint adhesion and resistance to cracking |
| Stone Staining | Edge discoloration or oil migration |
| PU Foam Expansion | Yield, expansion, shrinkage, frame pressure |
| Documents | TDS, SDS, specifications, test reports |
A good sample test is practical, repeatable, and grounded in your real market conditions — not just a checkbox exercise.
Final Thoughts
Sealant sample testing is the most cost-effective form of risk management an importer can run before placing a bulk order. It is also the step most often rushed or skipped — usually right before the problems start.
A thorough evaluation goes well beyond appearance. It covers extrusion smoothness, skin time, through-cure behavior, adhesion to local substrates, sag resistance, tooling quality, odour, paintability, packaging integrity, and supplier documentation. For specialized applications, it also covers stone staining, PU foam expansion behavior, facade durability, or high-strength bonding — whichever matters to your market.
If you are preparing to source construction sealants for your region, BoPin can help you select the right products to test, build a representative sample set, and shortlist a practical product range matched to your customers’ applications. Personal service, technical depth, and flexible MOQs are how a focused supplier earns long-term partnerships.