Your shower is like a daily car wash for your bathroom walls. Hot water, soap, steam, and moisture attack your sealant every single time someone takes a shower. Choose the wrong shower silicone sealant, and you’ll be dealing with leaks, mold, and expensive repairs within months.
The right choice protects your shower for 15-20 years without leaks, mold, or maintenance headaches. Here’s everything you need to know to pick the best silicone sealant for shower use and apply it like a pro.
Why Showers Destroy Regular Sealants
Think of your shower as boot camp for sealants. Every shower session puts sealants through a punishing routine that regular products simply can’t handle:
Hot Water Under Pressure
Shower water doesn’t just drip – it blasts at pressure. Unlike gentle wet area applications, shower spray actively searches for weak spots in your sealant.
Poor sealants let water through, and that water goes straight into your walls, where it causes expensive damage you can’t see until it’s too late.
Daily Heat Shock
Your shower goes from cold to steamy hot and back to cold every day. This constant expansion and contraction is like doing jumping jacks – fine for a while, but eventually something gives out.
Regular sealants get tired from this daily workout and develop cracks that let water through.
Soap and Shampoo Attack
Those nice-smelling shower products are actually chemical cocktails that attack sealant bonds and break down materials.
It’s like washing your sealant with paint thinner every day – even good products eventually surrender to this chemical assault.
Perfect Mold Paradise
Showers give mold everything it loves: warmth, moisture, and food (from soap residue).
Without proper protection, your sealant becomes a mold highway, spreading black, unhealthy fungus throughout your bathroom.
What Makes Great Shower Silicone Sealant
Not all sealants can survive shower conditions. Here’s what separates the winners from the losers:
Mold Resistance (Must-Have Feature)
This isn’t optional for showers. Regular sealant becomes a black, moldy mess within months in shower conditions.
Quality shower silicone sealant includes special mold-fighting ingredients that prevent fungus growth for the entire life of the product.
Specialized bathroom products include industrial-strength mold protection designed specifically for shower environments.
True Waterproof Performance
“Water-resistant” isn’t good enough for showers. You need bulletproof waterproofing that stops water penetration even under pressure.
The best silicone sealant for shower use creates an impenetrable barrier that water cannot cross, period.
Flexibility for Temperature Changes
Daily hot-to-cold cycles stress sealant joints.
Quality shower sealants stay flexible from freezing to steaming hot without cracking or letting go of surfaces.
Think of it like athletic wear that stretches but always returns to shape – that’s what your shower sealant needs to do every day.
Chemical Toughness
Shower products are tougher on sealants than you think. Your sealant must resist:
- All types of shampoos and conditioners
- Body washes and bar soaps
- Bathroom cleaners and scrubs
- Bleach and disinfectants
Professional shower sealants laugh off these chemical attacks without losing strength or performance.
Wet Surface Bonding
Shower surfaces are almost always damp. Many sealants won’t stick properly to wet surfaces, leading to instant failure.
The best products grip strongly even on slightly wet surfaces and get stronger as they cure.
Types of Shower Silicone Sealant (Made Simple)
Here are your main options:
Neutral-Cure (Most Popular Choice)
These work safely with all shower materials and are the go-to choice for most applications.
Why they’re great:
- Safe for mirrors, stone, and metal fixtures
- No harsh fumes during application
- Safe to use while living in the house
- Work with all cleaning products
Perfect for: Most home showers
Fast-Cure (Quick Results)
These cure faster and often stick better initially, but have some drawbacks.
Good points:
- The project finished faster
- Strong grip from the start
- Usually costs less
Watch out for:
- Can damage mirrors and natural stone
- Strong vinegar smell while curing
- Don’t work with all materials
Best for: Basic tile showers where speed matters
Premium Anti-Mold (Maximum Protection)
Specialized products with extra mold-fighting power for problem showers.
Special features:
- Maximum mold protection
- Works in high-humidity conditions
- Lasts longer in tough conditions
- Enhanced moisture resistance
Perfect for: Showers with ventilation problems or previous mold issues
How to Pick the Best Silicone Sealant for Your Shower
Follow these simple steps:
Step 1: Check Your Shower Materials
Natural stone (marble, granite): Only use products labeled “safe for stone.” The wrong choice permanently stains expensive stone.
Regular ceramic tile: Most shower sealants work fine.
Glass shower doors: Stick with neutral-cure products to avoid damage.
Metal fixtures: Make sure your sealant is compatible with your specific metals.
Step 2: Consider Your Water
Hard water areas need sealants that resist mineral buildup and staining.
Heavily chlorinated water may require enhanced chemical resistance.
Step 3: Look at Your Ventilation
No exhaust fan or window? You need maximum mold protection.
Good ventilation means standard bathroom-grade products usually work fine.
Step 4: Think About Your Cleaning Style
Heavy cleaning with bleach? Choose products with enhanced chemical resistance.
Light cleaning routine? Focus on sealants that resist soap scum and stay clean easily.
Step 5: Consider Your Budget vs. Value
Premium shower silicone sealant costs more upfront but lasts 3-4 times longer than cheap products.
For daily-use showers, quality pays off because replacement labor often costs more than the material price difference.
How to Apply Shower Sealant Like a Pro
Getting great results isn’t rocket science:
Before You Start (The Most Important Part)
Remove every bit of old sealant. Leaving even small pieces behind guarantees the failure of your new sealant.
Clean everything thoroughly. Use strong cleaners to remove soap scum, mineral deposits, and any sealant residue.
Kill any mold with bleach or mold remover, then rinse completely.
Make sure everything is bone dry before applying new sealant.
Getting the Right Joint Size
Most shower joints should be 6-12mm wide, depending on the gap and expected movement.
Use a backing rod to control depth and create the right shape.
Plan for movement – shower materials expand and contract with temperature changes.
Application Tips That Work
Work in sections – don’t try to seal an entire shower in one go.
Keep your gun moving steadily for consistent bead size.
Tool the joint immediately after applying – you usually have 5-10 minutes before it starts to skin over.
Use plastic tools or a wet finger – they work better than metal tools for smooth finishes.
Protecting Your Work
Keep water off fresh sealant for at least 24-48 hours, depending on the product.
Ensure good air circulation during curing to prevent moisture problems.
Don’t clean the area for at least 48 hours to let everything cure completely.
Common Shower Problems (And Easy Fixes)
Most shower sealant problems are predictable:
Black Mold Growing
What you see: Dark streaks or patches on or around the sealant
Why does it happen:
- Wrong type of sealant (no mold protection)
- Poor ventilation
- Water is getting behind the sealant
- Dirty conditions
How to fix it:
- Remove and replace with proper anti-mold shower silicone sealant
- Improve bathroom ventilation
- Clean the shower regularly
- Check for and seal any gaps
Gaps Appearing
What you see: Spaces opening up between the sealant and the surfaces
Why does it happen?
- Poor surface preparation
- Wrong product choice
- Joint design problems
- Too much movement for the sealant
How to fix it:
- Better cleaning before application
- Use proper shower-grade products
- Redesign joints if needed
- Add expansion joints for large areas
Color Changes
What you see: Sealant turning yellow, brown, or other colors
Why does it happen:
- Sun exposure through windows
- Chemical attack from cleaning products
- Poor quality products aging
- Reaction with other materials
How to fix it:
- Use UV-stable products for sunny showers
- Switch to gentler cleaners
- Upgrade to better quality sealants
- Check material compatibility
Sealant Pulling Away
What you see: Sealant separating from one or both surfaces
Why does it happen:
- Dirty surfaces during application
- Wet conditions when applied
- Wrong product for the materials
- Too much stress from movement
How to fix it:
- Clean surfaces thoroughly before application
- Ensure dry conditions
- Use primer if recommended
- Check the joint design
Simple Maintenance for Long Life
A little care goes a long way:
Weekly Cleaning
Clean the shower sealant weekly with mild bathroom cleaners.
Don’t scrub hard or use abrasive cleaners that can damage the surface.
Rinse thoroughly to remove all cleaner residues.
Wipe dry when possible to reduce moisture exposure.
Monthly Check-Up
Look for early warning signs:
- Small cracks starting
- Any color changes
- Soap buildup
- Edges starting to lift
Fix small problems immediately before they become expensive disasters.
Help Your Ventilation
Run exhaust fans during and after showers to remove moisture quickly.
Leave shower doors open when not in use for better air circulation.
Consider upgrading ventilation if you keep having mold problems.
DIY vs. Professional Installation
When should you hire help?
Do It Yourself If:
Your shower is simple with standard materials and straightforward joints.
You have time to do proper preparation and application.
You’re comfortable with tools and following detailed instructions.
The stakes are low – mistakes won’t cause expensive damage.
Call Professionals If:
Your shower has expensive materials like natural stone that can be damaged.
The design is complex with multiple materials and tricky angles.
You’ve had previous failures that suggest underlying problems.
Time is critical – professionals work much faster than DIY.
Tools for Good Results
Quality sealant gun that applies consistent pressure
Sharp cutting tools for clean cartridge tips
Good cleaning supplies, including appropriate solvents
Plastic smoothing tools or proper sealant finishing tools
Understanding Costs and Value
Making smart money decisions:
What Products Cost
Basic shower sealants: $3-6 per tube Quality bathroom products: $8-15 per tube Premium anti-mold formulas: $12-20 per tube
Typical shower needs: 2-3 tubes regardless of product quality
So the difference: $10-30 for much better performance
Installation Costs
DIY: Just the material cost plus your time
Professional: $200-500, depending on shower size and complexity
Keep in mind: Replacement jobs often cost more than the original installation
What Failure Costs
Water damage: $1,000-10,000+ in repairs depending on extent
Mold problems: $500-5,000 for professional remediation
Health impacts: Hard to measure but potentially serious
Emergency repairs: Cost 2-3x normal rates and disrupt your life
The Real Value
Premium shower silicone sealant lasting 15-20 years beats replacing cheap products every 3-5 years.
Think about the total cost over time, including materials, labor, and hassle.
Special Shower Situations
Some showers need special attention:
Corner Details
Inside corners need careful application to avoid gaps.
Outside corners get more stress and need adequate thickness.
Where different materials meet may need primer or special techniques.
Around Fixtures
Shower valves and controls need precise sealing for water protection.
Removable parts may need different approaches for future service.
Fixed installations can use permanent sealing for maximum protection.
Floor Connections
Where walls meet shower floors must handle both sealing and drainage.
Maintain proper slopes so water flows to drains, not against sealant.
High-traffic areas need products that can handle foot contact.
Quality You Can Trust
Look for products that meet standards:
Important Standards
ASTM C920 – The main standard for construction sealants
ASTM C1184 – For structural shower applications
ISO 11600 – International building sealant requirements
Mold Testing
ASTM D3273 – Tests actual mold resistance
ISO 846 – Microorganism resistance testing
Real testing beats marketing claims every time.
Performance Proof
Look for test data showing performance in shower-like conditions.
Third-party testing is more reliable than the manufacturer claims.
Real-world experience from actual installations tells the true story.
Frequently Asked Questions
What’s the best silicone sealant for shower use?
The best silicone sealant for shower applications needs waterproof performance, mold resistance, and flexibility for temperature changes. Specialized bathroom products, designed for wet areas, provide the best combination of features. Neutral-cure formulations work safely with all shower materials while providing reliable long-term performance.
How long does shower silicone sealant last?
Quality shower silicone sealant typically lasts 15-20 years with proper installation and care. How long yours lasts depends on water quality, ventilation, cleaning habits, and product quality. Cheap products may only last 3-5 years before developing mold or adhesion problems.
Can I use regular bathroom sealant in my shower?
Regular bathroom sealant may lack the intensive mold protection and chemical resistance needed for daily shower conditions. For best results, choose products specifically labeled for shower use with enhanced anti-mold protection and water resistance.
How do I remove old shower silicone sealant?
Cut along both edges with a sharp utility knife, then pull or scrape out every bit of old material. Any pieces left behind will prevent new sealant from sticking properly. Clean thoroughly with solvents and treat any mold before applying new shower silicone sealant.
Why does my shower sealant keep getting moldy?
Mold growth usually means poor ventilation, wrong product choice, or water getting behind the sealant. Improve bathroom air circulation, choose products with strong anti-mold protection, and check for gaps that let water infiltrate. Proper wet area sealing prevents most mold problems.
Quick Selection Guide
Simple reference for choosing shower silicone sealant:
By Shower Type
- Standard tile shower: Anti-mold neutral-cure sealant
- Natural stone shower: Stone-safe neutral-cure only
- Glass shower enclosure: Structural glazing sealant for glass joints
- Fiberglass shower: Standard bathroom sealant with mold protection
Common Problems
- Keeps getting moldy: Maximum anti-mold formulations
- Hard water stains: Mineral-resistant products
- Poor air circulation: Enhanced moisture and mold resistance
- Heavy daily use: Premium durability products
By Installation Method
- DIY project: User-friendly neutral-cure products
- Professional installation: High-performance professional systems
- Quick repair: Fast-cure formulations
- Long-term solution: Maximum durability premium products
Conclusion
Your shower works hard every day, and it deserves the best silicone sealant you can give it.
Success means choosing a shower silicone sealant specifically designed for wet conditions with proper mold protection, flexibility, and chemical resistance. Don’t try to save money with general-purpose products – they’ll fail quickly in the demanding shower environment.
Good installation and simple maintenance ensure your investment pays off with years of leak-free, mold-free performance. The small extra cost of quality products prevents expensive water damage and unhealthy mold problems.
When in doubt, choose products clearly labeled for shower and bathroom use from companies that understand wet area challenges. Your shower will stay waterproof and healthy when protected by the right sealing system.
Remember: shower sealing isn’t just about keeping water where it belongs – it’s about protecting your home and your family’s health for years to come.
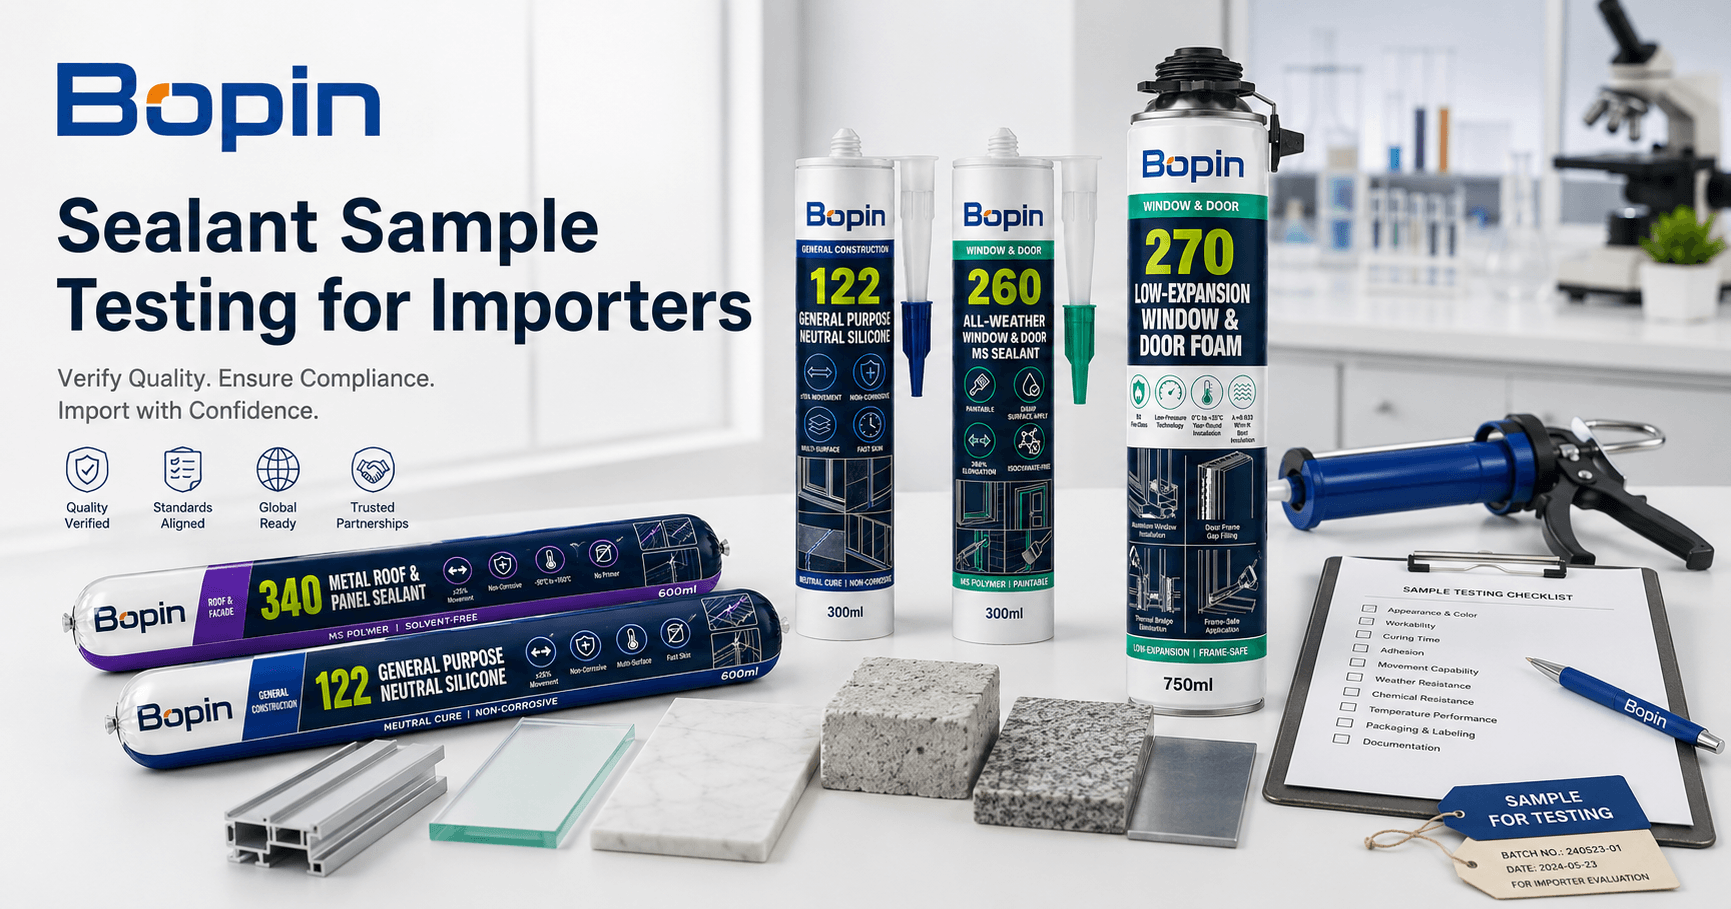
Need reliable shower sealing solutions? BoPin Construction Chemicals offers specialized shower silicone sealants with advanced anti-mold technology and superior waterproof performance for showers that stay dry and healthy.