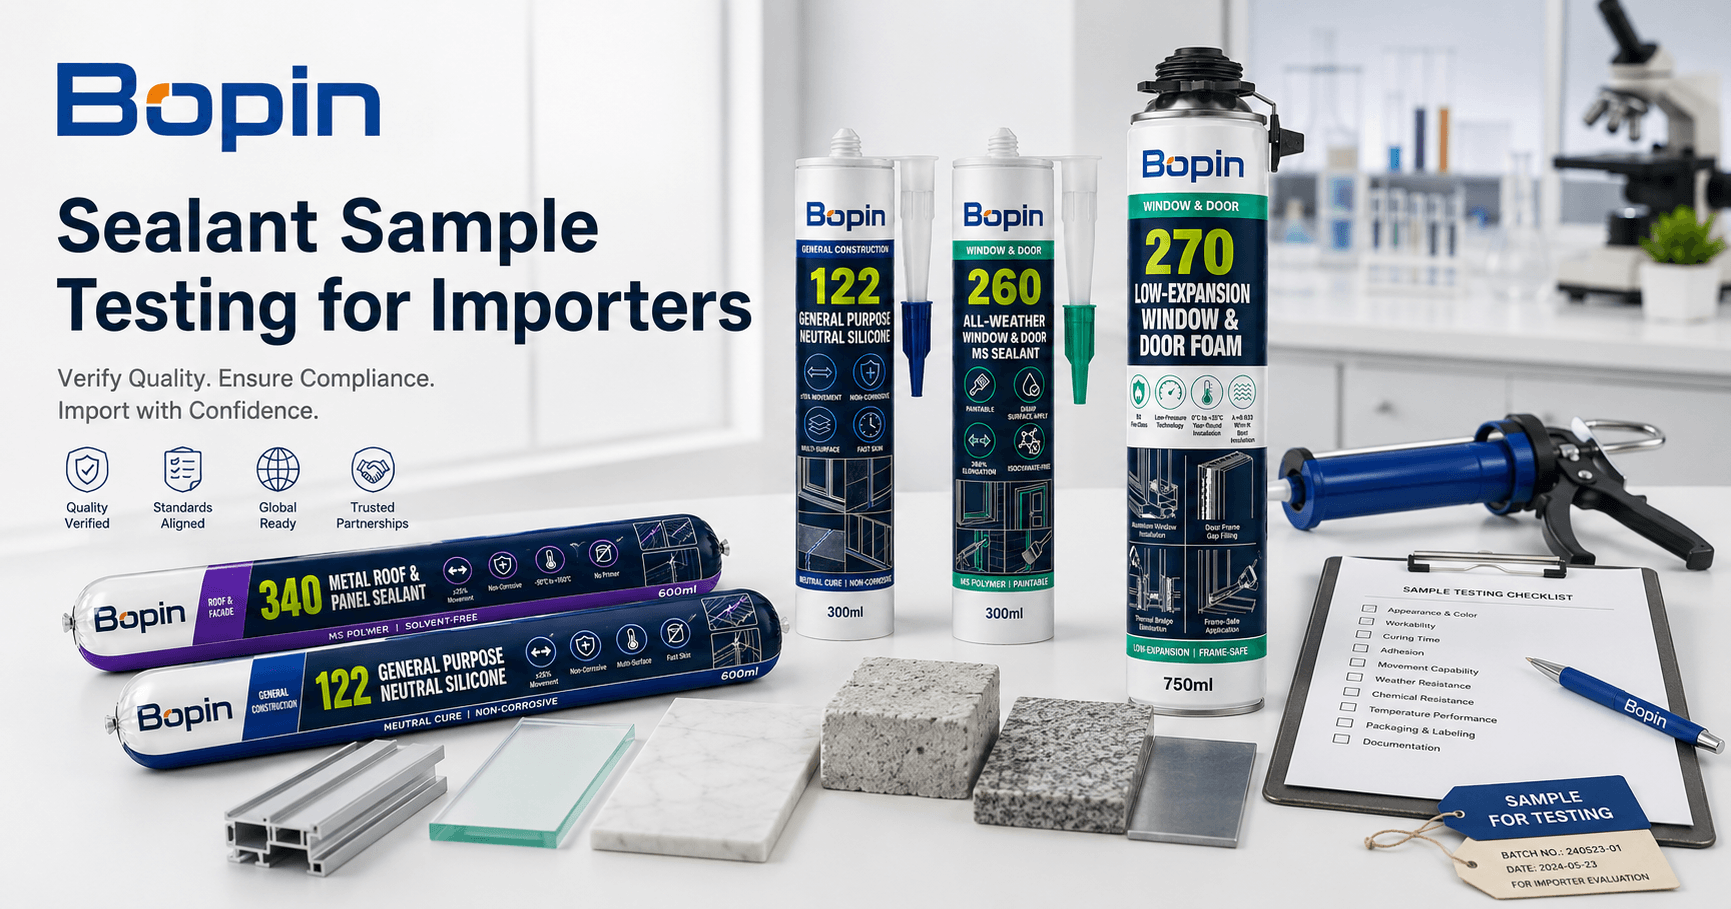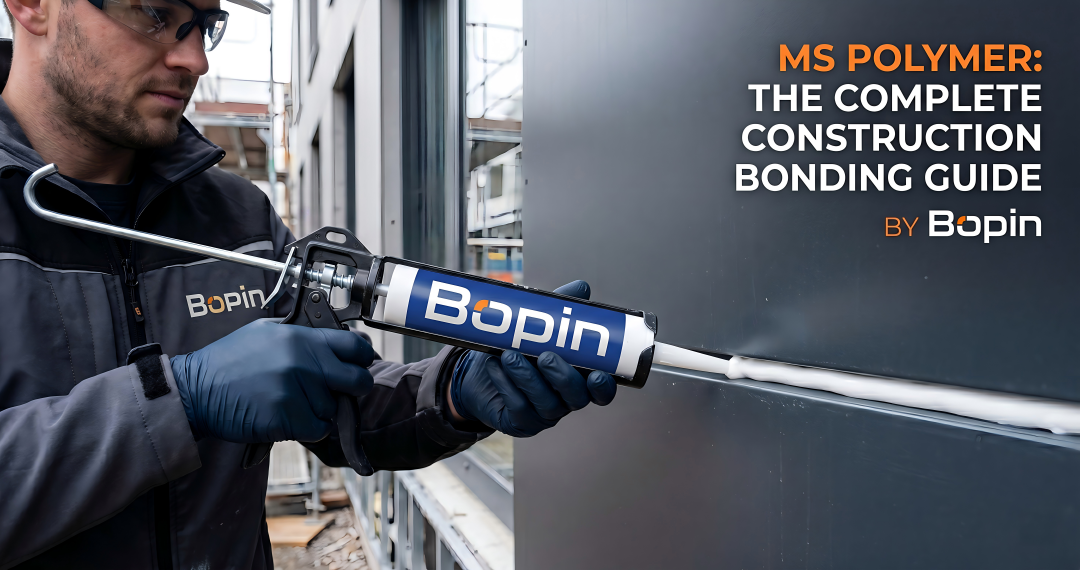
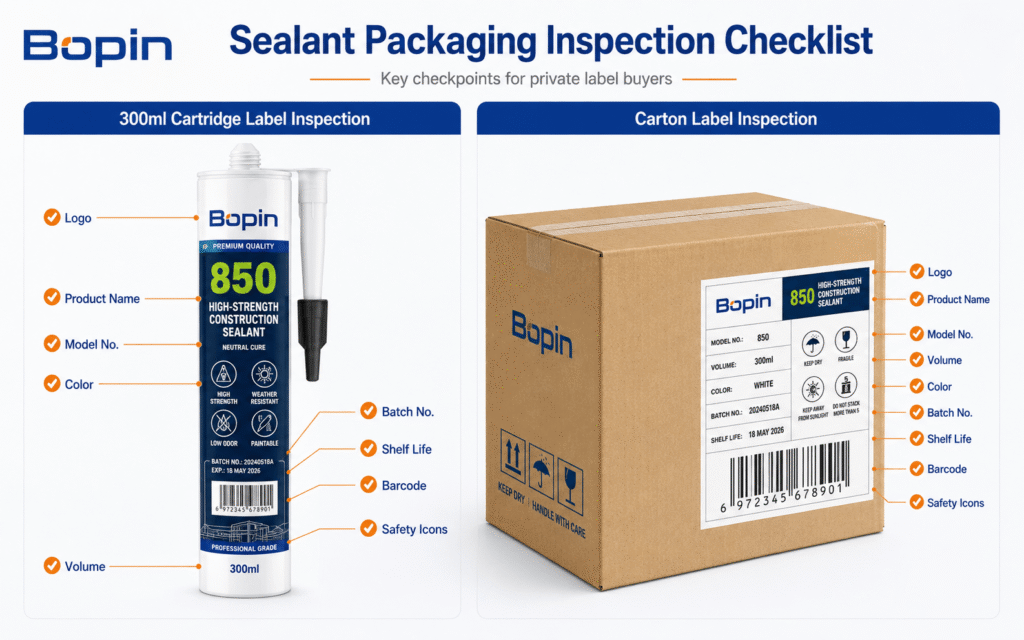
قبل تقديم طلبية بالجملة لمواد منع التسرب المستخدمة في البناء، يجب على المستوردين دائمًا اختبار العينات أولاً - وليس مجرد إلقاء نظرة سريعة على المنتج.
يؤكد التقييم الدقيق للعينات مدى سهولة الاستخدام، وكفاءة المعالجة، والالتصاق بالركائز المحلية، وجودة التغليف، والرائحة، والمظهر، والتوافق العام مع المواد المستخدمة في السوق. هذه هي العوامل التي تحدد ما إذا كان العملاء سيعودون لطلب المزيد أو سيتصلون بفريق المبيعات لتقديم شكاوى.
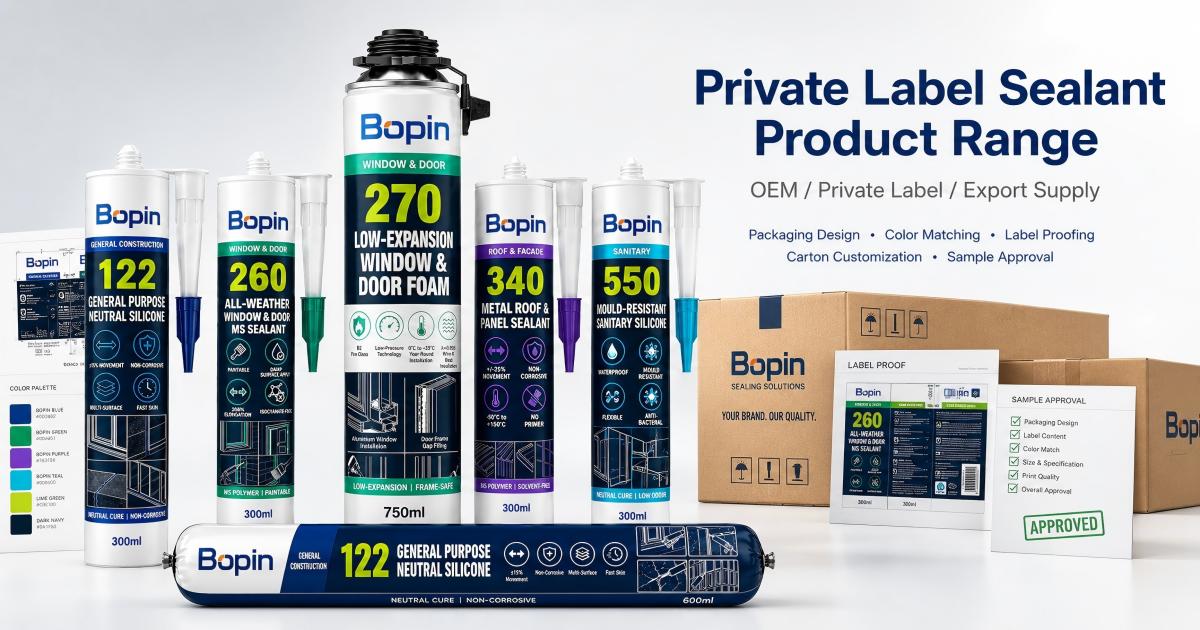
بالنسبة لـ العلامة التجارية الخاصة وبالنسبة لمشتري المعدات الأصلية، يصبح اختبار العينات أكثر أهمية. فبمجرد طباعة العبوة وبدء الإنتاج بكميات كبيرة، تصبح التغييرات في التركيبة أو الملصق مكلفة، وأحيانًا مستحيلة دون التخلص من المخزون.
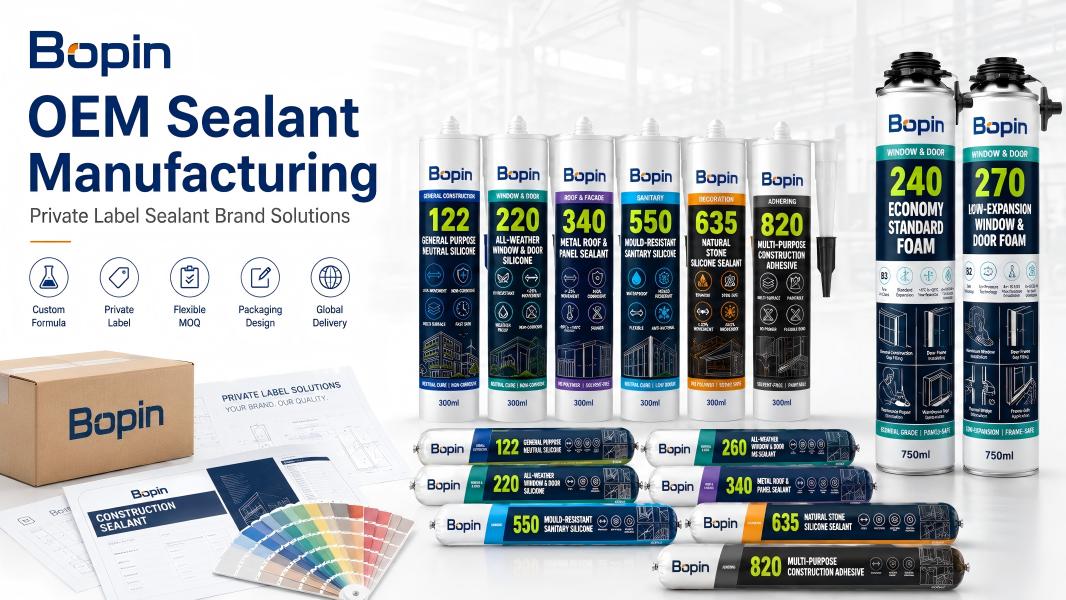
يُقلل اختبار العينات المُنظّم من المخاطر قبل استثمار رأس المال في مواد مانعة للتسرب من السيليكون، أو مواد مانعة للتسرب من البوليمر MS، أو رغوة البولي يوريثان، أو مواد مانعة للتسرب من الأكريليك، أو مواد لاصقة للبناء. يُقدّم هذا الدليل للمستوردين والموزعين ومشتري العلامات التجارية الخاصة قائمة مرجعية عملية يجب اتباعها قبل الموافقة على أي طلبية بالجملة.
لماذا يُعد اختبار عينات مواد منع التسرب أمراً بالغ الأهمية؟
مواد منع التسرب هي مواد بناء وظيفية، وليست سلعًا عامة. قد يختلف أداء نفس التركيبة اختلافًا كبيرًا تبعًا للمناخ، والسطح، وتصميم الوصلة، وطريقة التطبيق، وظروف التخزين.
يجب أن يلتصق مانع تسرب النوافذ بشكل موثوق بالألمنيوم والزجاج والبناء. مادة مانعة للتسرب لأسقف معدنية يجب أن يمسك بألواح معدنية مطلية دون رفعها. مادة مانعة للتسرب من الأحجار الطبيعية لا يمكن أن يُلطخ الرخام أو الجرانيت عند حافة الوصلة. يجب أن يتمدد رغوة البولي يوريثان بشكل متساوٍ دون تشويه الإطار. لا يمكن تأكيد أي من ذلك من خلال ورقة البيانات الفنية وحدها، بل يجب اختباره في ظروف واقعية.
يساعد اختبار العينات المستوردين على التحقق من ملاءمة المنتج قبل الالتزام بكميات كبيرة. تشمل المزايا الرئيسية ما يلي:
- تقليل مخاطر الجودة قبل الإنتاج الضخم
- تأكيد التوافق مع الركائز المحلية
- التحقق من مدى ملاءمة المنتج للمقاولين الذين سيستخدمونه فعلياً
- مقارنة الدرجات المختلفة أو الموردين المختلفين جنبًا إلى جنب
- تجنب شكاوى العملاء بعد طرح المنتج في السوق
- فحص التغليف، وطباعة الملصقات، ووضع العلامات اللونية
- دعم اختيار المنتجات بثقة لمشاريع العلامات التجارية الخاصة
لست بحاجة إلى مختبر كامل للبدء. يمكن إجراء العديد من الاختبارات الأكثر فائدة باستخدام أدوات بسيطة والمواد نفسها التي يستخدمها عملاؤك النهائيون يوميًا.
1. تحقق من مظهر العبوة والملصق
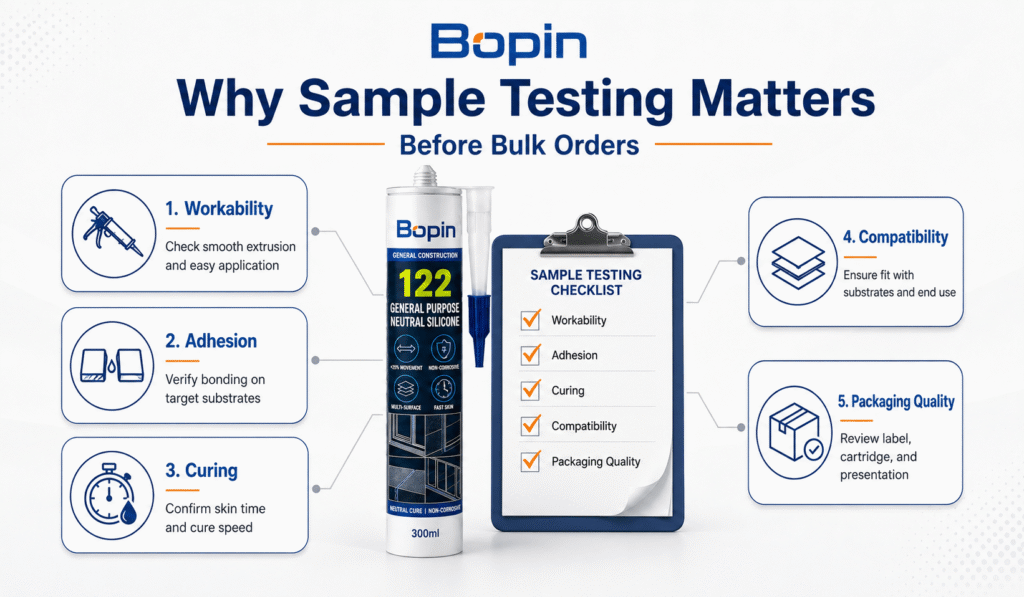
بالنسبة للمستوردين ومشتري العلامات التجارية الخاصة، تُعدّ العبوة أول ما يراه العميل على الرف أو في موقع العمل. لذا، افحص العبوة جيدًا قبل لمس المادة اللاصقة بداخلها.
ما يجب فحصه على الخرطوشة أو عبوة النقانق:
- جودة الطباعة (الحدة، دقة الألوان، عدم وجود تلطيخ)
- حجم الشعار وموضعه
- اسم المنتج ورقم المنتج
- فئة التطبيق ونقاط البيع الرئيسية
- تحديد الحجم الصافي
- تحديد لون المنتج
- تاريخ الإنتاج وفترة الصلاحية
- تحذيرات السلامة ورموز المخاطر
- موضع الباركود وإمكانية مسحه ضوئياً
- لغة (لغات) الملصق ودقته
- متانة جسم الخرطوشة وجودة الغطاء/الفوهة
- طباعة الكرتون، ورقم الدفعة، وعلامات الشحن
سيواجه المنتج الممتاز ذو العبوة الرديئة صعوبة في التوزيع. بالنسبة لقنوات البيع بالتجزئة والتجار، يجب أن توضح العبوة استخدام المنتج من النظرة الأولى.
إذا كانت علامتك التجارية تستخدم نظام ألوان لتمييز فئات التطبيقات - السيليكون، وبوليمر MS، ورغوة PU، ومقاومة للحريق، والصحية، وما إلى ذلك - فتأكد من أن ترميز الألوان متسق في جميع المنتجات في شحنة العينات.
2. اختبار نعومة عملية البثق
تُعد نعومة عملية البثق من أول الأشياء التي يلاحظها المقاول - ومن أول الأشياء التي سيشتكي منها إذا كانت خاطئة.
يجب أن يتدفق مانع التسرب بسلاسة من الخرطوشة أو العبوة دون أن يُجبر المستخدم على بذل جهد كبير للتحكم في المسدس. في المشاريع الكبيرة، يؤدي استخدام منتج يتطلب ضغطًا يدويًا مفرطًا إلى الإرهاق، وبطء عملية التطبيق، وعدم اتساق جودة طبقة مانع التسرب.
كيفية الاختبار:
- قم بتكييف العينة في درجة حرارة الغرفة قبل الاختبار.
- قم بتحميله في مسدس مانع التسرب المناسب (مسدس الخرطوشة أو مسدس السجق حسب الاقتضاء).
- قم بقطع الفوهة بزاوية ثابتة وبحجم فتحة ثابت.
- ضعي طبقة متصلة على سطح مستو.
- كرر العملية مع كل عينة في ظل ظروف متطابقة لإجراء مقارنة عادلة.
بحث:
- هل العجينة صلبة جداً أم سائلة جداً؟
- هل يتدفق بشكل منتظم، أم ينبض على شكل دفعات؟
- هل يسد الفوهة؟
- هل تنكسر الخرزة أو تتشكل خيوط أثناء الاستخدام؟
- هل ضغط اليد مريح للاستخدام المتواصل؟
تعمل عملية البثق السلس على تحسين كفاءة موقع العمل، وتقليل هدر المواد، وحماية سمعة علامتك التجارية لدى الفنيين.
3. التحقق من وقت تكوين الجلد
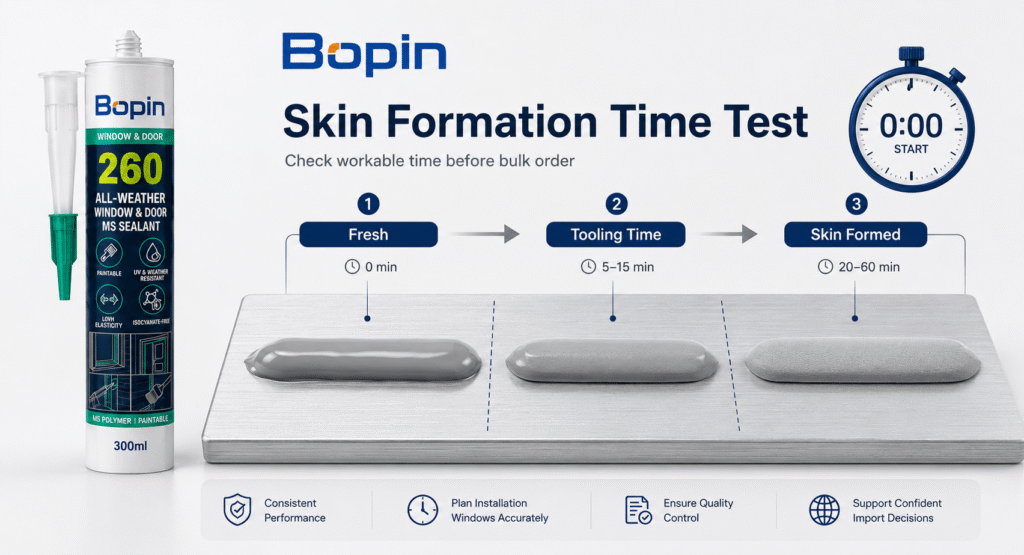
زمن تكوّن الطبقة الخارجية هو الفترة الزمنية بين وضع المادة اللاصقة ولحظة تكوّن طبقة غير لزجة على سطح الخرزة. ويؤثر هذا الزمن بشكل مباشر على الوقت المتاح للفنيين لتجهيز الوصلة.
إنّ وقت التجفيف القصير جدًا لا يتيح مجالًا لتنعيم الوصلة بشكل نظيف. أما وقت التجفيف الطويل جدًا فيؤدي إلى تراكم الغبار على السطح، مما يبطئ العمل.
كيفية الاختبار:
- ضعي كمية صغيرة على سطح نظيف وغير ماص.
- ابدأ المؤقت فور انتهاء التطبيق.
- المس الخرزة برفق على فترات منتظمة باستخدام ملعقة نظيفة أو إصبع مغطى بقفاز.
- سجل الوقت الذي يتوقف فيه السطح عن نقل المواد إلى الأداة.
- قارن النتيجة مع نتيجة المورد إجمالي المواد الصلبة الذائبة.
الظروف التي تؤثر على وقت تجدد الجلد:
- الطقس الحار يقصرها.
- يؤدي الطقس البارد إلى تمديدها.
- تعمل الرطوبة العالية على تسريع عملية معالجة المنتجات بالرطوبة.
- تتصلب الخرزات العميقة ببطء أكثر من الأغشية السطحية الرقيقة.
تختلف الخصائص الكيميائية باختلاف أنواع السيليكون. السيليكون متعدد الأغراض،, سيليكون محايدهـ،, مواد مانعة للتسرب من البوليمر MS, ولكل نوع من أنواع رغوة البولي يوريثان خصائصه الخاصة من حيث مدة بقائه على البشرة، لذا قارن دائمًا بالقيم التي يحددها المورد بدلاً من مقارنته بمنتج غير ذي صلة.
4. اختبار معدل التصلب والتصلب الكامل
يصف معدل المعالجة مدى سرعة تصلب المادة المانعة للتسرب من السطح إلى الداخل - وليس مدى سرعة جفاف السطح عند اللمس.
يكتفي العديد من المشترين بفحص وقت جفاف الطبقة الخارجية للمادة اللاصقة، وهذا خطأ. قد تتصلب الطبقة الخارجية للمادة اللاصقة خلال ساعة واحدة فقط، بينما يبقى لبها غير جاف لعدة أيام. في المفاصل العميقة، يؤدي هذا إلى ضعف الأداء وظهور شكاوى بعد فترة طويلة من التسليم.
كيفية الاختبار:
- ضع المادة المانعة للتسرب على شكل خرزة بسمك محدد (شريط بعمق 8-10 مم مفيد للتقييم).
- اتركه في ظل الظروف المحلية العادية.
- قم بتقطيع الخرزة بعد 24 ساعة.
- قم بقياس مدى عمق الطبقة المعالجة.
- كرر العملية بعد 48 ساعة إذا لزم الأمر.
- قارن النتائج بين العينات.
بحث:
- هل ما زال الجزء الداخلي رطباً أو لزجاً؟
- هل تتم عملية المعالجة بشكل متساوٍ عبر المقطع العرضي؟
- هل ينكمش المنتج بشكل ملحوظ أثناء عملية المعالجة؟
- هل توجد تشققات سطحية أو انفصال في الطبقة الخارجية؟
- هل تكتسب المادة المعالجة المرونة المتوقعة؟
بالنسبة للمفاصل العميقة، يُعدّ معدل التصلب عاملاً حاسماً. ذكّر عملاءك بأنّ الأداء الميكانيكي الكامل قد يستغرق عدة أيام ليتحقق، وذلك تبعاً للتركيب الكيميائي وحجم الحبيبات ودرجة الحرارة والرطوبة.
5. اختبار الالتصاق بالركائز المحلية
يُعدّ الالتصاق أهم عامل أداء على الإطلاق، وهو العامل الذي يتم إغفاله في أغلب الأحيان عند أخذ العينات الأولية. لذا، اختبر المادة المانعة للتسرب على المواد الفعلية التي يستخدمها عملاؤك، وليس على سطح مرجعي واحد.
المواد الأساسية الشائعة التي تستحق الاختبار:
- الزجاج والزجاج المقسى
- الألومنيوم الخام والألومنيوم المطلي بالمسحوق
- قطاعات PVC
- بلاط السيراميك والبورسلين
- الخرسانة والبناء
- الفولاذ المجلفن والصفائح المعدنية المطلية
- الحجر الطبيعي (الرخام والجرانيت والحجر الجيري)
- الأخشاب والخشب المصنّع
- ألواح الألمنيوم المركبة (ACP)
اختبار الالتصاق البسيط عن طريق التقشير:
- نظف كل سطح جيداً.
- ضع طبقة من المادة المانعة للتسرب بسمك 5-8 مم.
- اتركه حتى يجف تماماً.
- قم بعمل قطع نظيف من أحد الطرفين واسحب الخرزة للخلف بزاوية 90 درجة أو 180 درجة.
- راقب نمط العطل.
النتيجة الجيدة تظهر فشل التماسك — يتمزق مانع التسرب من الداخل قبل أن ينفصل عن السطح. فشل الالتصاق — يشير الفصل الواضح عند خط الربط إلى مشكلة في التوافق أو الحاجة إلى استخدام مادة أساسية.
بالنسبة لتطبيقات المشاريع أو الواجهات، يتم إجراء اختبارات معملية لـ ASTM C794 أو ما شابه ذلك هو الخطوة التالية الصحيحة. لكن اختبار السحب اليدوي على المواد المحلية لا يزال يكشف معظم المشاكل في مراحلها المبكرة قبل أن تصل إلى العميل.
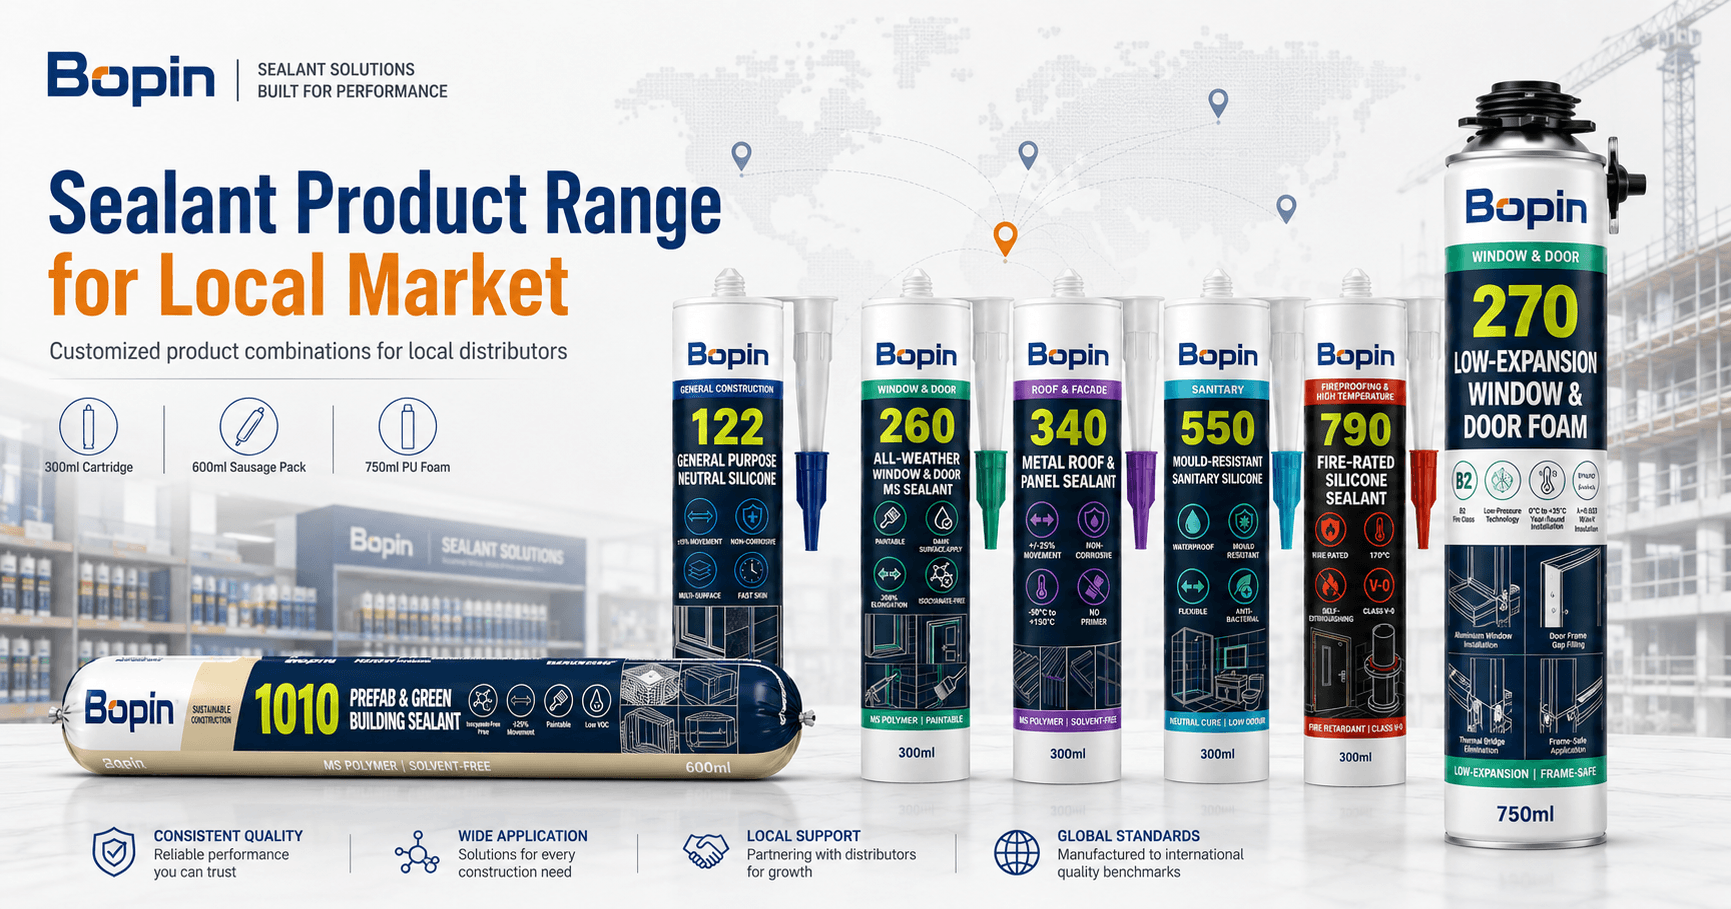
يغطي كتالوج BoPin المنتجات المصممة خصيصًا لتحديات الركائز المحددة - الألومنيوم والزجاج للنوافذ، والمعادن المطلية للأسقف، والحجر الطبيعي المسامي، والأسطح الصحية، ووصلات الواجهات، والأرضيات الخشبية، وربط الألواح.
【图片位置: 本节后】 图片主题:اختبار الالتصاق على ركائز مختلفة: 做成测试矩阵图:横向摆放不同基材小样: الزجاج / الألومنيوم / الخرسانة / السيراميك / المعدن / الحجر / الخشب / ACP الصورة: 1200 × 800 px نص بديل: اختبار التصاق المادة المانعة للتسرب على الخرسانة الزجاجية والألومنيوم المعدن والحجر
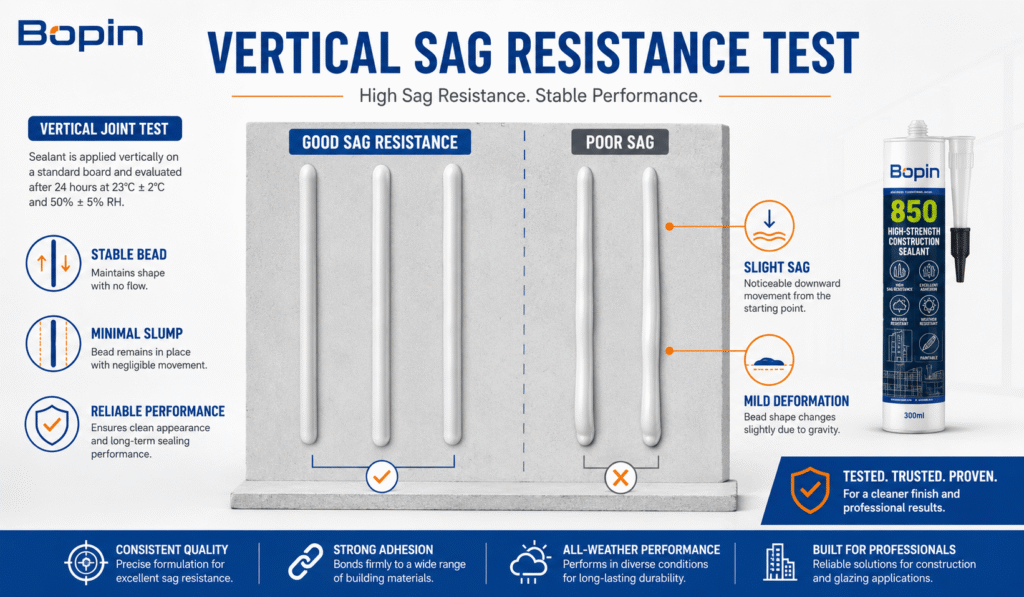
6. فحص مقاومة الترهل للوصلات الرأسية
تُعدّ مقاومة الترهل - والتي تُسمى أحيانًا مقاومة الانزلاق - أمرًا بالغ الأهمية عندما يكون الوصل رأسيًا أو علويًا. فالمادة المانعة للتسرب التي تنزلق ببطء إلى الأسفل بعد وضعها تُسبب خرزات غير متساوية، وهدرًا للمواد، واستياءً لدى المقاولين.
التطبيقات التي تكون فيها مقاومة الترهل أمراً بالغ الأهمية:
- مفاصل محيط النوافذ والأبواب
- وصلات الواجهة والجدار الستائري
- الفواصل الرأسية الداخلية في الجدران والفواصل
- ربط الألواح والزخارف
- مانع تسرب مفاصل مقاوم للحريق
- الزوايا الرأسية الصحية (مثل جدران الدش)
كيفية الاختبار:
- قم بتثبيت لوحة الاختبار عموديًا.
- استخدم خرزات ذات حجم متناسق من كل عينة.
- انتظر حتى تنتهي فترة ظهور نافذة الأدوات المتوقعة.
- لاحظ ما إذا كانت الخرزة تحتفظ بشكلها أم تتحرك إلى الأسفل.
- قم بتصوير النتيجة للمقارنة.
يحافظ المنتج الذي لا يترهل على شكله الهندسي من لحظة وضعه وحتى تمام جفافه، مما يسمح للمثبتين بإنتاج وصلات نظيفة وموحدة دون الحاجة إلى إعادة العمل.
7. تقييم الأدوات والتشطيب السطحي
تحدد الأدوات جودة بصرية من الوصلة النهائية - والجودة البصرية هي ما يحكم عليه المستخدمون النهائيون بالفعل.
يجب أن يكون مانع التسرب الجيد سهل التسطيح قبل تشكل طبقة رقيقة، وأن يترك حافة وصلة نظيفة، وأن يحافظ على شكله بعد تمرير الملعقة. أما المنتج الذي يسحب أو يتمزق أو يلتصق بالأداة، فسيسبب إحباطًا حتى للفنيين ذوي الخبرة.
أثناء عملية التصنيع، تحقق مما يلي:
- هل تنزلق الخرزة بسلاسة دون أن تسحب؟
- هل تنفصل المادة عن الأداة بسلاسة؟
- هل الحواف حادة ومتناسقة؟
- هل يبقى السطح أملسًا بعد المعالجة، أم يصبح خشنًا؟
- هل يحافظ المفصل على شكله، أم يترهل بعد عملية التشكيل؟
بالنسبة لـ مانعات التسرب الأكريليكية والداخلية مواد مانعة للتسرب للزينة, تُعد جودة التشطيب مهمة للغاية لأن الوصلة غالباً ما تُطلى. سيليكون صحي, كما أن السطح الأملس يقاوم تراكم الأوساخ والأغشية الحيوية - وهو عامل أداء مهم على المدى الطويل.
8. فحص الرائحة وراحة الهواء الداخلي
نادراً ما تظهر الرائحة في ورقة المواصفات الرئيسية، ولكن لها تأثير حقيقي على تجربة المستخدم - خاصة في التطبيقات الداخلية والمباني المشغولة.
المنتجات التي تُعتبر فيها الرائحة المنخفضة ميزة تسويقية:
- مواد مانعة للتسرب أكريليكية
- مواد مانعة للتسرب من البوليمر MS
- مواد مانعة للتسرب للديكور الداخلي
- سيليكون صحي (للحمامات والمطابخ)
- مواد مانعة للتسرب تُستخدم في المباني المأهولة والفنادق والمستشفيات والمدارس
- منتجات البناء الأخضر والبناء الجاهز
ما الذي يجب تقييمه:
- هل الرائحة قوية أثناء الاستخدام؟
- هل تبقى الرائحة بعد المعالجة؟
- هل المنتج مريح للاستخدام في الأماكن المغلقة الداخلية؟
- هل تتوافق الرائحة مع توقعات المشترين في سوقك؟
- هل يمكن للمورد تقديم بيانات محتوى المركبات العضوية المتطايرة عند الحاجة؟
بالنسبة للأسواق التي أصبحت فيها شهادة المباني الخضراء أو جودة الهواء الداخلي معيارًا للشراء - وهو أمر شائع بشكل متزايد في الشرق الأوسط وجنوب شرق آسيا وأوروبا - فإن التركيبات منخفضة المركبات العضوية المتطايرة والخالية من المذيبات لم تعد ميزات اختيارية.
بالنسبة لمشاريع البناء الأخضر، قد يحتاج المستوردون أيضًا إلى التحقق من القوانين المحلية. المركبات العضوية المتطايرة أو متطلبات جودة الهواء الداخلي.
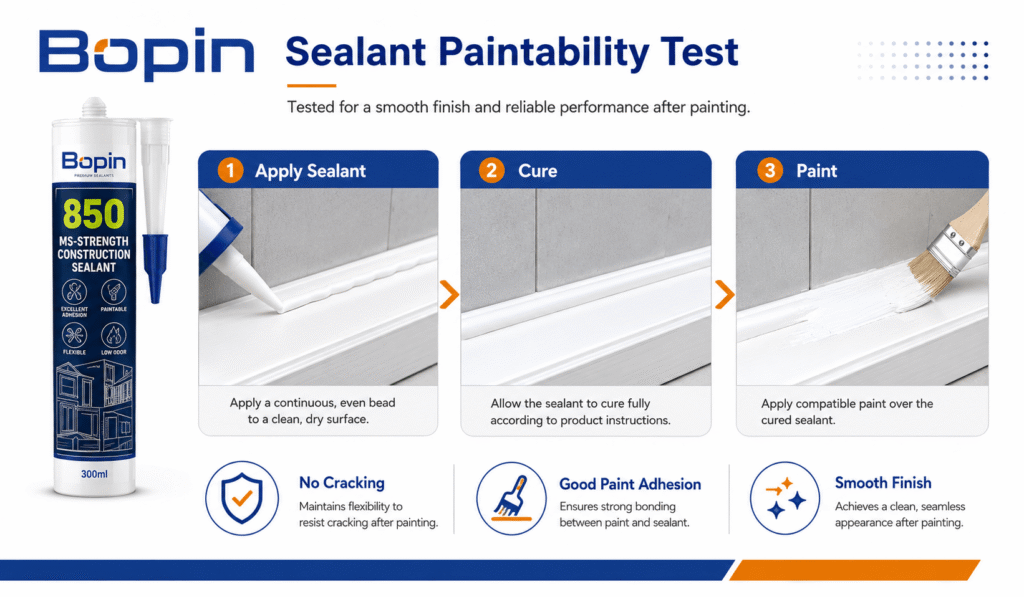
9. اختبار قابلية الطلاء إذا لزم الأمر
لا تقبل جميع مواد منع التسرب الطلاء، وهذا مصدر شائع للشكاوى التي تلي البيع.
معظم مواد منع التسرب المصنوعة من السيليكون تفعل ذلك لا يمتص الطلاء بشكل موثوق. إذا كان سوقك يتوقع ذلك مفاصل قابلة للطلاء — وخاصة بالنسبة للديكور الداخلي وأعمال التشطيب — يجب أن يكون خيارك الافتراضي هو الأكريليك أو بوليمر MS، وليس السيليكون.
كيفية اختبار قابلية الطلاء:
- ضع طبقة من مادة مانعة للتسرب واتركها حتى تجف تماماً.
- قم بتطبيق نظام الطلاء الشائع في السوق الخاص بك (مستحلب مائي، أو ألكيد، أو غير ذلك).
- اترك الطلاء ليجف تماماً.
- تحقق من قوة الالتصاق بين الطلاء والمادة المانعة للتسرب.
- افحص المنتج بحثًا عن التشققات أو التقشير أو التجاعيد أو انفصال الألوان.
- قم بثني الركيزة قليلاً إذا كان المفصل سيتعرض للحركة أثناء الاستخدام.
حيث تُعدّ قابلية الطلاء مهمة:
- إصلاح الشقوق في الجدران والأسقف الداخلية
- وصلات ألواح الحواف وألواح القاعدة
- حواف الخزائن والأثاث المدمج
- زخارف الأبواب والنوافذ الداخلية
- الواجهة المطلية ووصلات الزخارف الخارجية
اختبر دائمًا باستخدام الطلاء الفعلي تُستخدم في سوقك. تتفاعل تركيبات الطلاء المختلفة - المستحلب، والزيتي، وثنائي المكونات - بشكل مختلف مع نفس المادة المانعة للتسرب.
10. اختبار التلوين على الحجر الطبيعي
يستحق الحجر الطبيعي فئة اختبار خاصة به. يمكن أن تتسبب السيليكونات القياسية والتركيبات غير المناسبة في تسرب الزيت، واسمرار الحواف، وظهور بقع دائمة حول الوصلة على الأحجار المسامية مثل الرخام والحجر الجيري والترافرتين.
بالنسبة للمستوردين الذين يخدمون مصنعي الأحجار، وأسواق المطابخ والحمامات، أو مقاولي الواجهات، فإن اختبار التلطيخ أمر ضروري وليس اختيارياً.
كيفية الاختبار:
- احصل على عينات حقيقية من الحجر من السوق المحلي لديك - مصقولة وغير مصقولة إذا كان كلاهما متوفرًا.
- ضع المادة المانعة للتسرب على شكل خرزة على طول حافة الحجر أو على السطح.
- اترك العينة دون إزعاج لمدة 5-7 أيام.
- افحص وجود أي اسمرار أو هالات زيتية أو تغير في اللون حول المفصل.
- قارن تحت ضوء النهار الطبيعي، وليس تحت الإضاءة الاصطناعية.
يُعدّ استخدام تركيبة غير مُلطّخة أمرًا ضروريًا لأسطح العمل الحجرية، والأرضيات الحجرية، وكبائن الاستحمام، والواجهات المكسوة بالحجر. إذا كان سوقك يبيع كميات كبيرة من الأحجار الطبيعية، فإنّ هذا الاختبار البسيط كفيل بتجنّب سحب المنتج من السوق بتكلفة باهظة.
11. اختبار تمدد وكثافة رغوة البولي يوريثان
تختلف قواعد اختبار عينات رغوة البولي يوريثان عن قواعد اختبار المواد المانعة للتسرب. فسلوك التمدد والكثافة والالتصاق هي المتغيرات التي تحدد ما إذا كانت الرغوة مناسبة لتركيب النوافذ والأبواب - وهو أكبر استخدام منفرد لرغوة البولي يوريثان.
ما يجب التحقق منه:
- كمية الرغوة الناتجة من علبة واحدة (بالمتر الطولي أو باللتر لكل علبة)
- معدل التمدد (زيادة الحجم من الحالة السائلة إلى الرغوة المتصلبة)
- بنية الخلية (دقيقة وموحدة مقابل خشنة وغير منتظمة)
- وقت القطع والوقت الخالي من اللزوجة
- الكثافة المعالجة
- الالتصاق بالبناء والخرسانة ومواد الإطار
- انكماش ما بعد المعالجة
- جودة سطح الجلد
- أداء الصمام والزناد للمنتجات المخصصة للعلب أو الأسلحة النارية
بالنسبة للتركيبات الحساسة - نوافذ PVC، وإطارات عازلة حرارية من الألومنيوم، وقطاعات أبواب رفيعة - رغوة منخفضة التمدد يُعدّ استخدام الرغوة خيارًا أفضل من الرغوة العادية. فالتمدد المفرط قد يؤدي إلى انحناء الإطارات، وقفل النوافذ، وخلق مشاكل في الضمان لا يرغب أي فني تركيب في التعامل معها.
تشمل مجموعة رغوة البولي يوريثان من BoPin درجات التمدد القياسية والمنخفضة، بما في ذلك رغوة مخصصة للنوافذ والأبواب (بوبين PU-270) تم تطويرها خصيصاً للتحكم في ضغط الإطار أثناء التركيب.
12. قارن العينات في ظل نفس الظروف
عند مقارنة عدة موردين، أو عدة درجات من نفس المورد، يجب أن تكون ظروف الاختبار متطابقة. فعينة تم اختبارها في مستودع بارد ستبدو مختلفة تمامًا عن نفس المنتج الذي تم اختباره في ظروف خارجية حارة. وتؤدي الظروف غير المتسقة إلى استنتاجات مضللة.
لنفترض ثبات هذه المتغيرات:
- نوع الركيزة وإعداد السطح
- حجم الخرزة وشكلها الهندسي
- درجة حرارة التطبيق
- الرطوبة (بقدر الإمكان عملياً)
- وقت المعالجة قبل التقييم
- طريقة الأدوات
- نظام الطلاء (في حالة اختبار قابلية الطلاء)
- موعد الاختبار (أو على الأقل في نفس الأسبوع)
تساهم ورقة المقارنة جنبًا إلى جنب في الحفاظ على موضوعية العملية وتجعل مناقشات الموردين أكثر إنتاجية بكثير من مجرد الانطباعات.
جدول مقارنة نموذجي:
| عنصر الاختبار | العينة أ | العينة ب | العينة ج |
|---|---|---|---|
| مظهر العبوة | |||
| نعومة البثق | |||
| وقت العناية بالبشرة | |||
| معدل الشفاء | |||
| التصاق | |||
| مقاومة الترهل | |||
| رائحة | |||
| تشطيب السطح | |||
| قابلية الطلاء | |||
| النتيجة الإجمالية |
13. ما هي المستندات التي يجب على المستوردين طلبها؟
لا تكفي العينات المادية وحدها. قبل توقيع طلبية بالجملة، اطلب المستندات الداعمة التي تثبت أن المنتج مطابق لما يقوله المورد.
المستندات الأساسية المطلوبة:
- ورقة البيانات الفنية (TDS)
- صحيفة بيانات السلامة (SDS أو MSDS)
- ورقة مواصفات المنتج
- تعليمات التقديم
- مدة الصلاحية ومتطلبات التخزين
- مواصفات التعبئة والتغليف (أبعاد وأوزان الخراطيش، والنقانق، والعلب)
- صور منتجات عالية الدقة
- مواصفات الكرتون وتكوينات المنصات
- Available color list
- Test reports for project-grade or regulated products
- Certificate of analysis (COA) on request
For projects subject to local building codes — fire-rated joints, facade glazing, structural bonding, or green building certification — you may also need product-specific test reports or compliance certificates (EN, ASTM, ISO, UL, or regional standards). Verbal claims are not enough. Get it in writing before the order ships.
Final Sealant Sample Testing Checklist
Use this summary checklist before approving any bulk sealant order:
| عنصر الاختبار | What to Check |
|---|---|
| التغليف | Label printing, carton, nozzle, cap, color coding |
| Extrusion | Smooth flow, hand pressure, bead consistency |
| Skin Time | Tooling window and surface drying behavior |
| Cure Rate | Through-cure depth and full-cure behavior |
| التصاق | Bonding to local substrates and failure mode |
| Sag Resistance | Performance on vertical and overhead joints |
| الأدوات | Smooth finish and clean joint edge |
| رائحة | Comfort for indoor applications |
| قابلية الطلاء | Paint adhesion and resistance to cracking |
| Stone Staining | Edge discoloration or oil migration |
| PU Foam Expansion | Yield, expansion, shrinkage, frame pressure |
| وثائق | TDS, SDS, specifications, test reports |
A good sample test is practical, repeatable, and grounded in your real market conditions — not just a checkbox exercise.
الخاتمة
Sealant sample testing is the most cost-effective form of risk management an importer can run before placing a bulk order. It is also the step most often rushed or skipped — usually right before the problems start.
A thorough evaluation goes well beyond appearance. It covers extrusion smoothness, skin time, through-cure behavior, adhesion to local substrates, sag resistance, tooling quality, odour, paintability, packaging integrity, and supplier documentation. For specialized applications, it also covers stone staining, PU foam expansion behavior, facade durability, or high-strength bonding — whichever matters to your market.
If you are preparing to source construction sealants for your region, BoPin can help you select the right products to test, build a representative sample set, and shortlist a practical product range matched to your customers’ applications. Personal service, technical depth, and flexible MOQs are how a focused supplier earns long-term partnerships.